This post was translated from the original with AI assistance. Read the original
GameShell is an open-source retro handheld that runs Arm Linux. Both its software and hardware are open source, making it a fantastic toy for geeks, game developers and figure collectors (it really does count as a figure, lol).
Godot is an open-source, cross-platform game engine that’s growing fast. It originally only supported GDScript, later added VisualScript (a visual node-based logic editor), now supports writing libraries in C++ via GDNative, and is gradually adding C# support (in beta).
So, can a game made with Godot be exported and run on the Armv7-based GameShell?
The answer is: Godot, YYYYYYYEEEEEEEESSSSS!
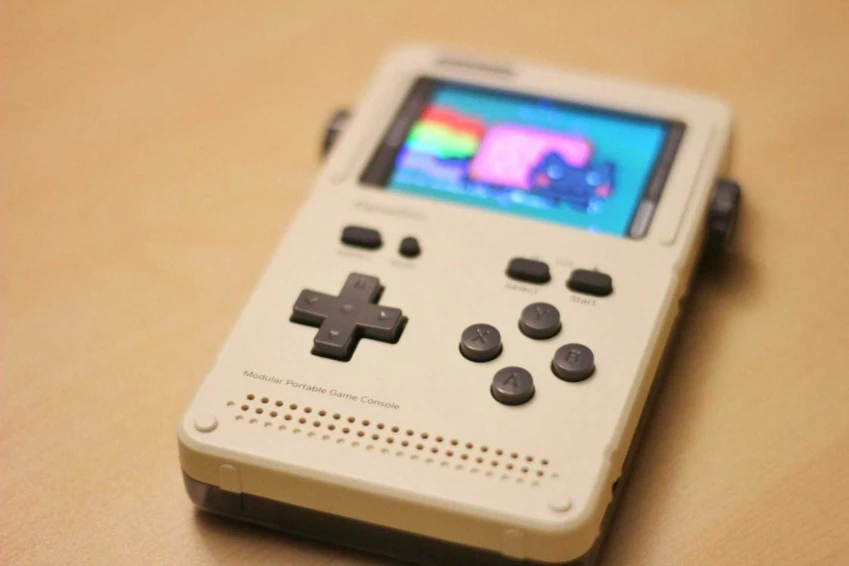
Next I’ll walk you through the whole process of running a Godot game on GameShell.
The Process#
Preparation#
First, get your software and hardware ready, and make sure the versions and hardware performance are OK.
Recommended minimum Godot version: 3.2.3. Godot version used in this post: 3.3.3.
GameShell requirements:
The 1GB RAM version, not the 512MB RAM version
An OS running the 0.5 image (I recommend the official stock image since it’s more stable; personally I don’t recommend DEOT v2)
Download the Export Templates#
A guy from abroad has already installed Godot on GameShell and built Godot export templates with SCons, so we’ll be lazy here and just use his ready-made templates, repo link:
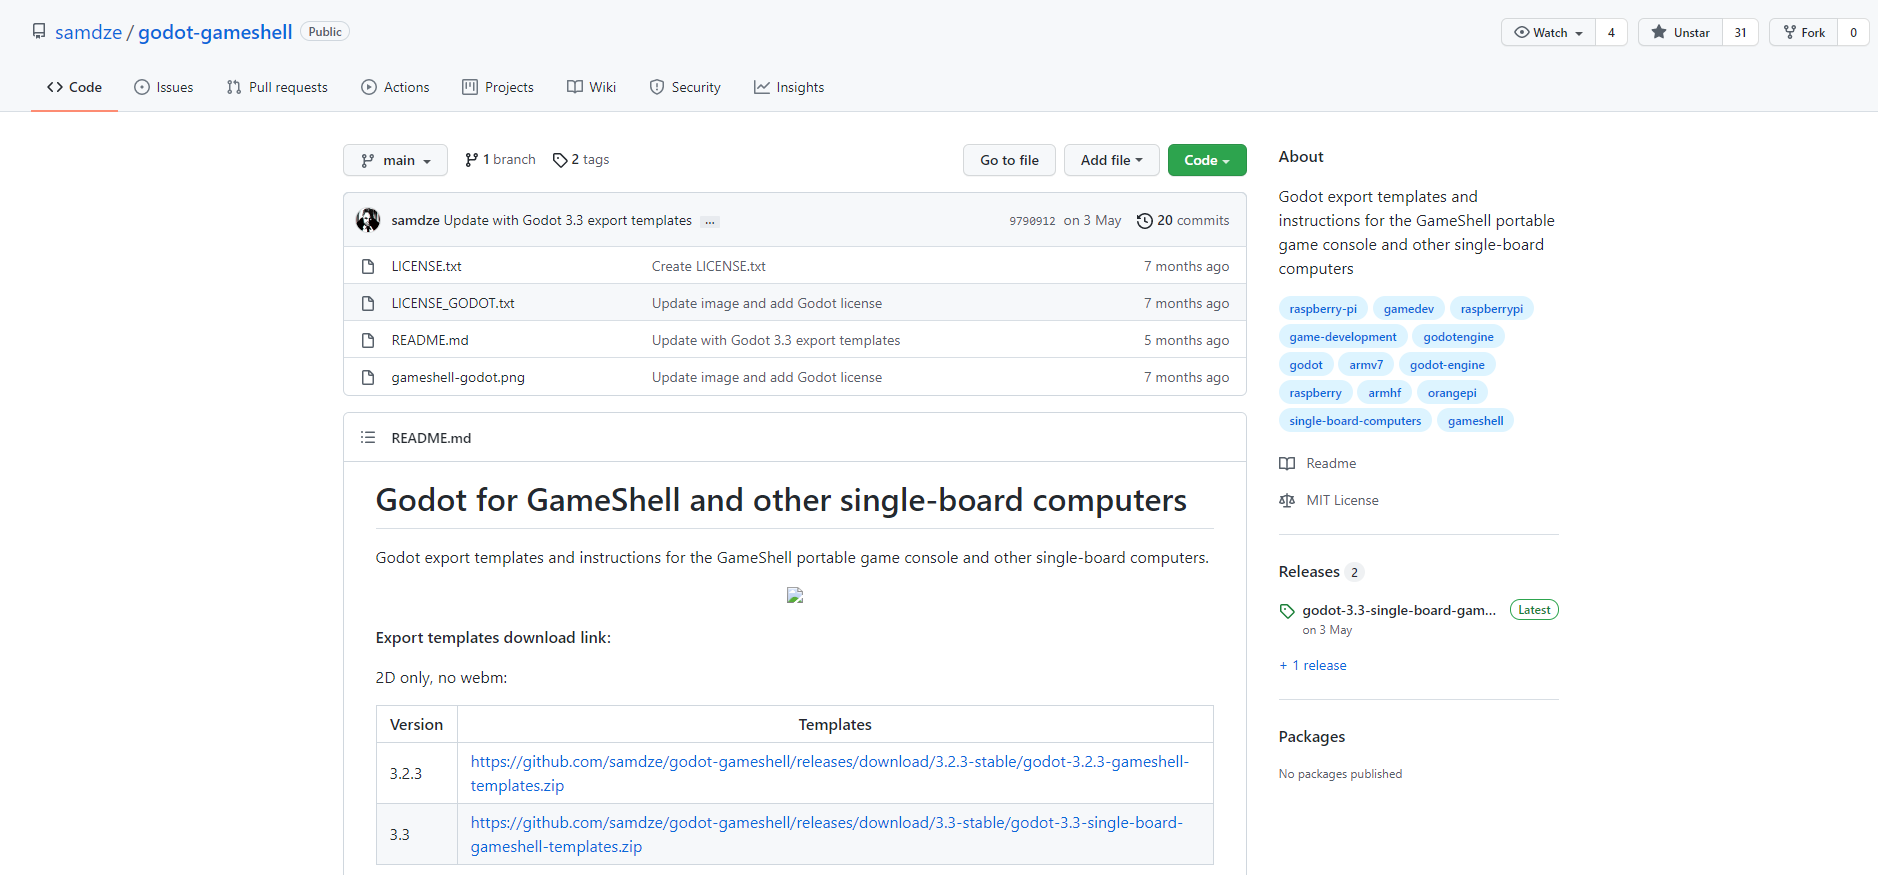
If you’re using Godot 3.2.3 or later, download the 3.2.3 export templates, download here
If you’re using Godot 3.3 or later, download the 3.3 export templates, download here
Open the Game Project#
Here I’ll use the official 2D Platformer Demo as an example.
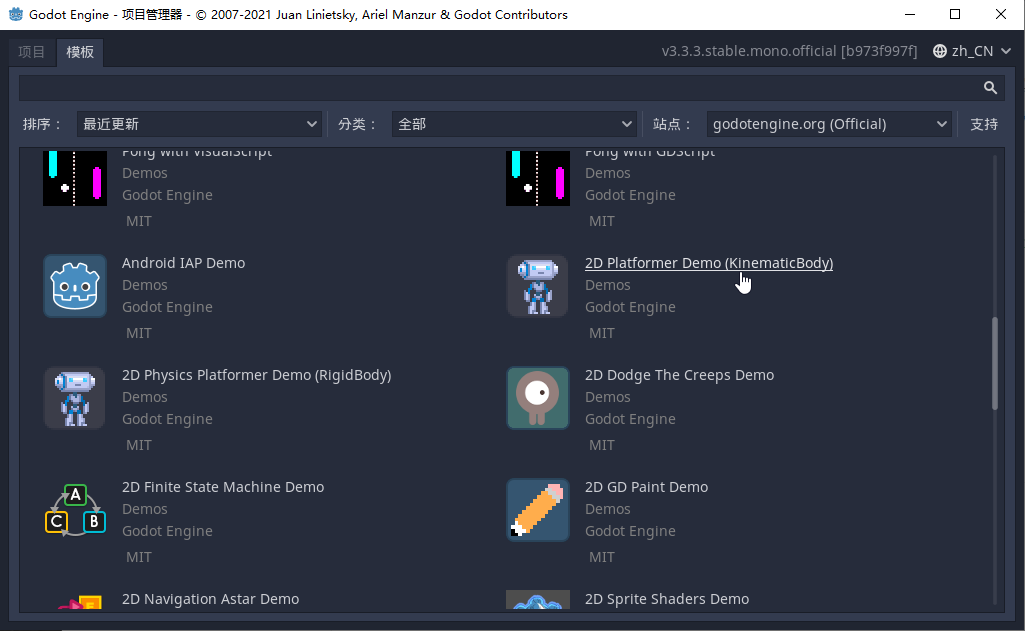
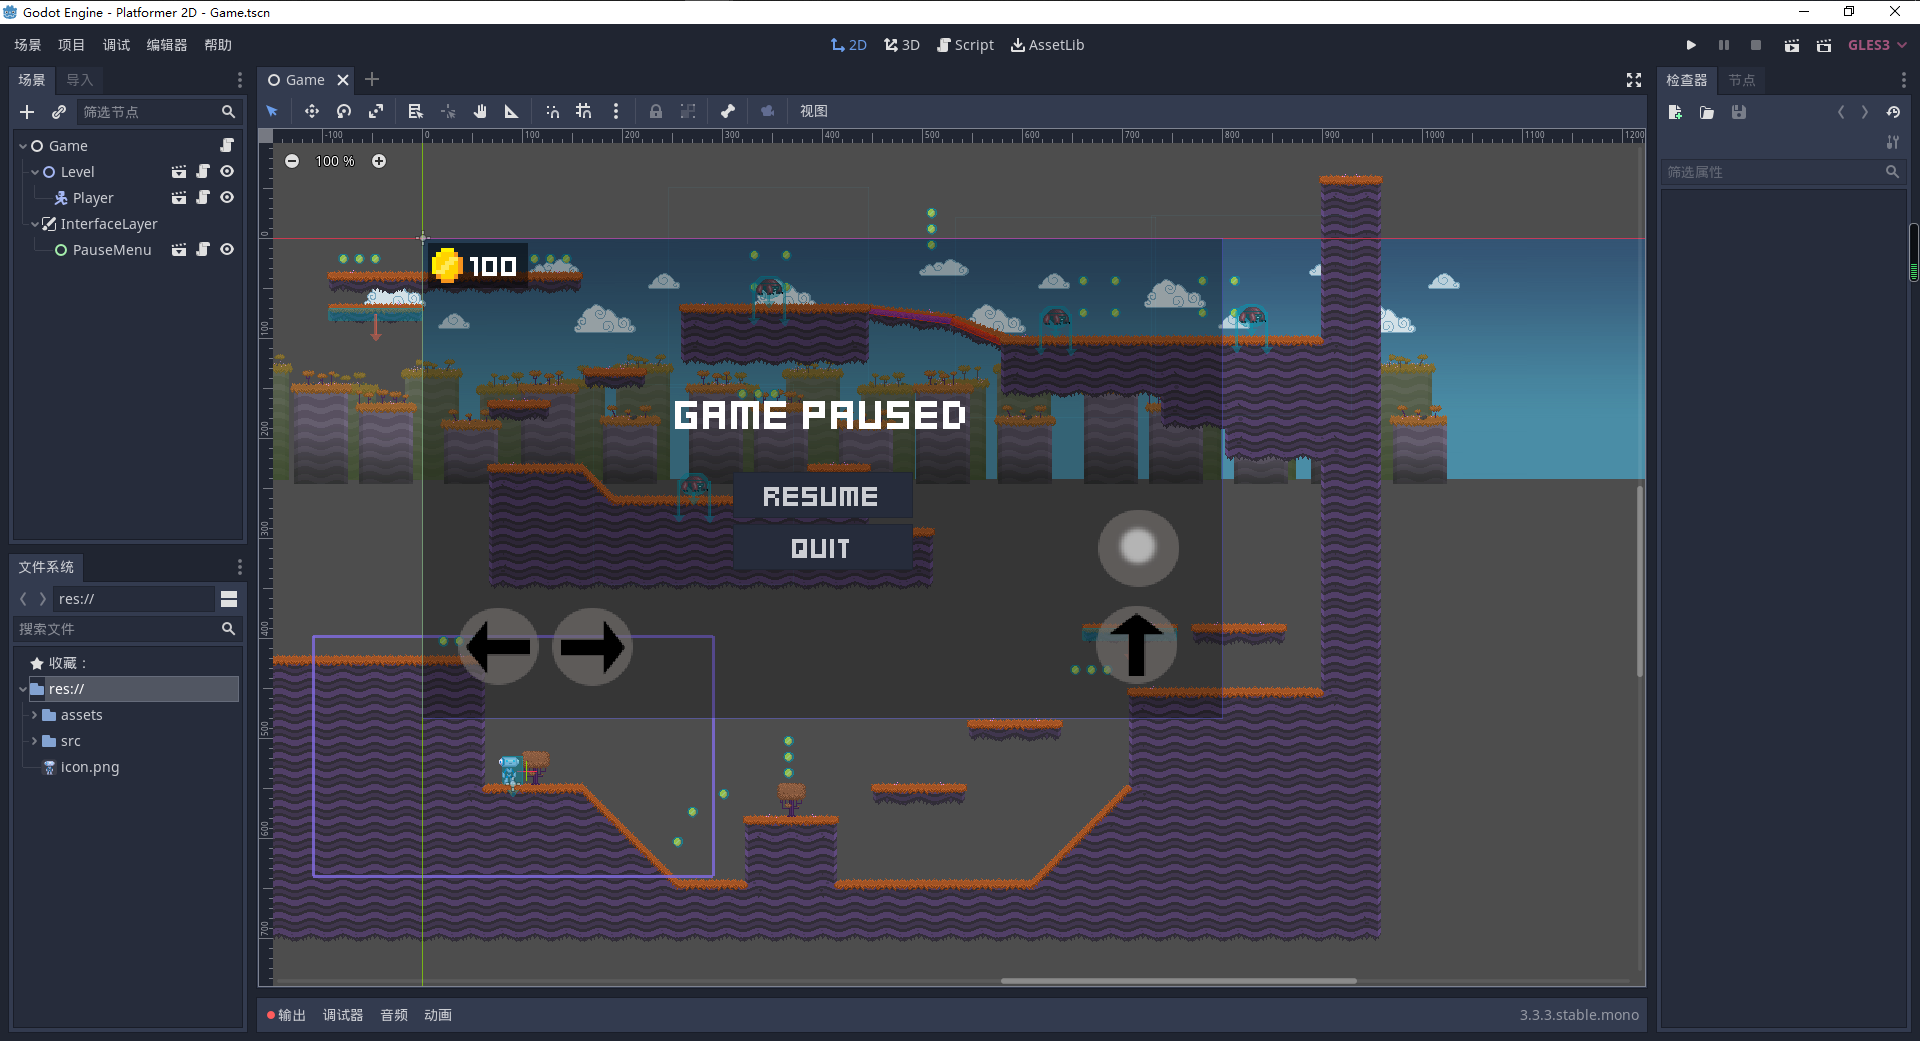
After importing the official demo, the main window looks like this:
Add the GameShell Export Template#
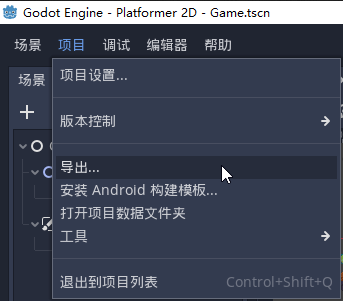
Click Project -> Export:
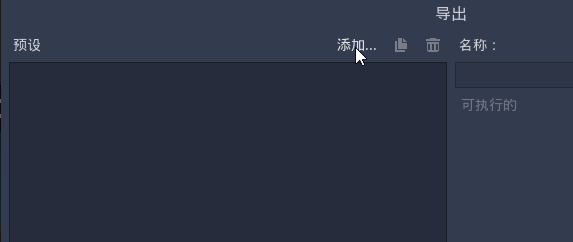
Click Add:
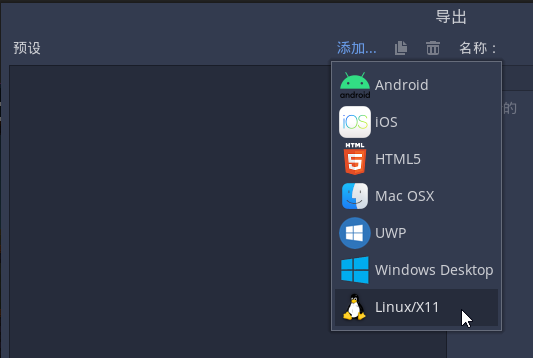
Click Linux/X11:
Configure it as follows. Make sure you untick 64 Bits:
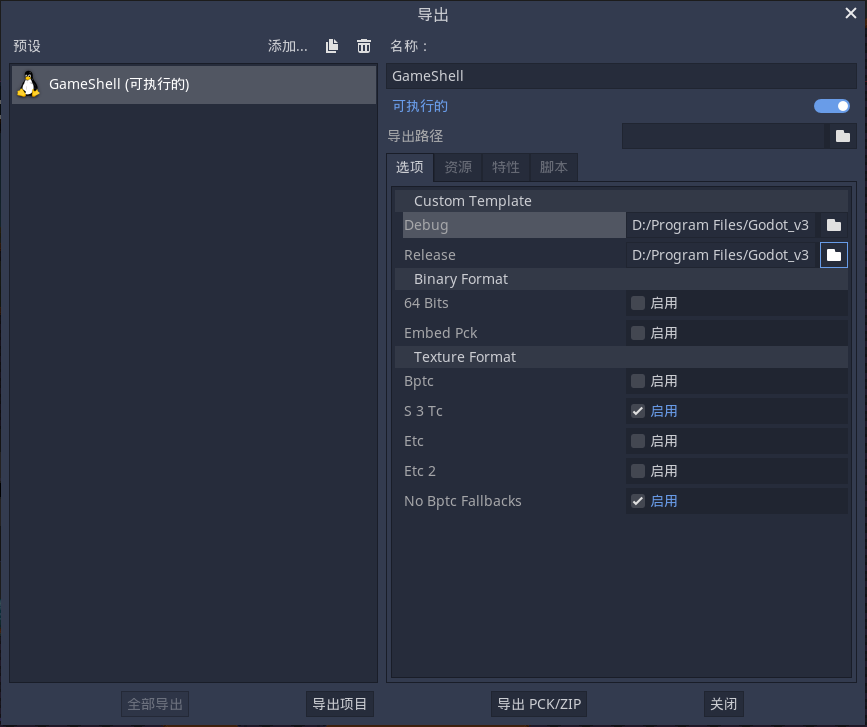
For Custom Template->Debug, choose the godot.x11.debug.32 file you downloaded earlier:
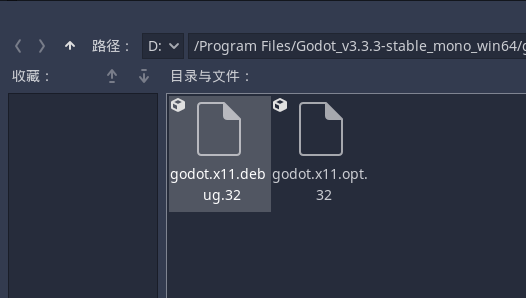
Likewise, for Custom Template->Release, choose the godot.x11.opt.32 file.
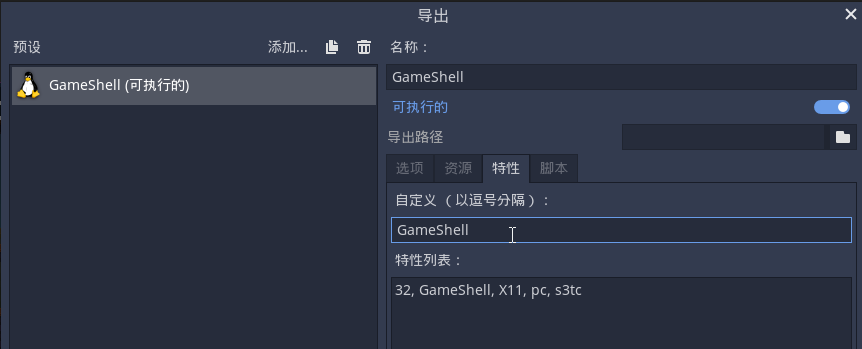
Click Features and enter GameShell under Custom. This way our code logic can check whether it’s running on the GameShell platform, which makes it easy to handle GameShell-specific logic:
Configure the Godot Game Settings#
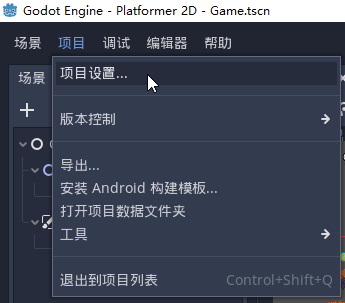
To export a project that runs well on GameShell, first open Project Settings:
Display Settings#
GameShell’s screen resolution is currently 320*240.
So we need to change Godot’s display settings, and when developing games for GameShell we also need to keep the resolution at 320*240.
Click Display->Window:
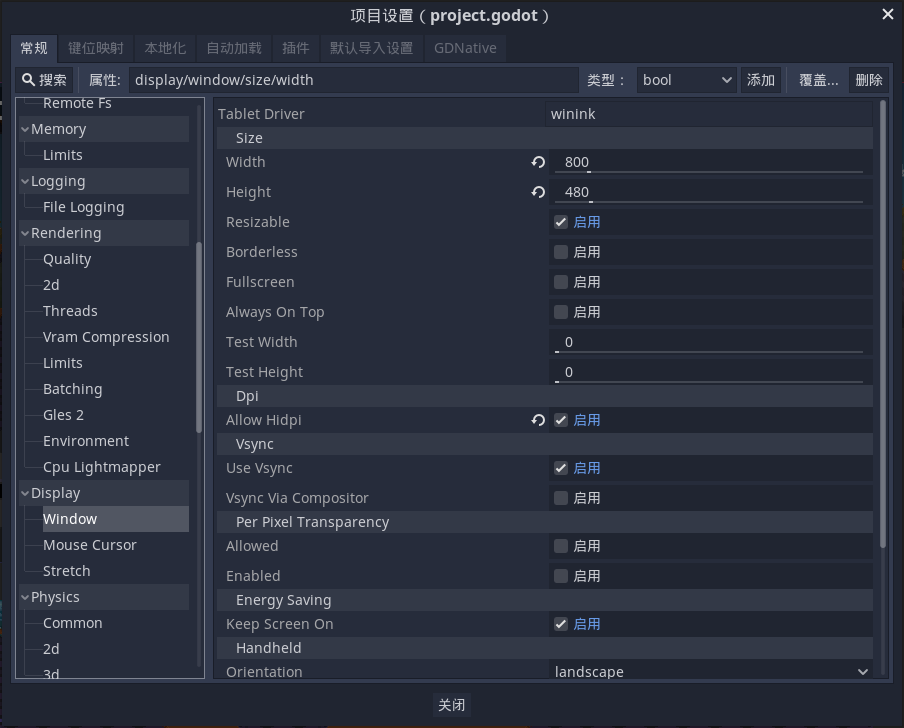
Select Width, click Override For, and choose GameShell:
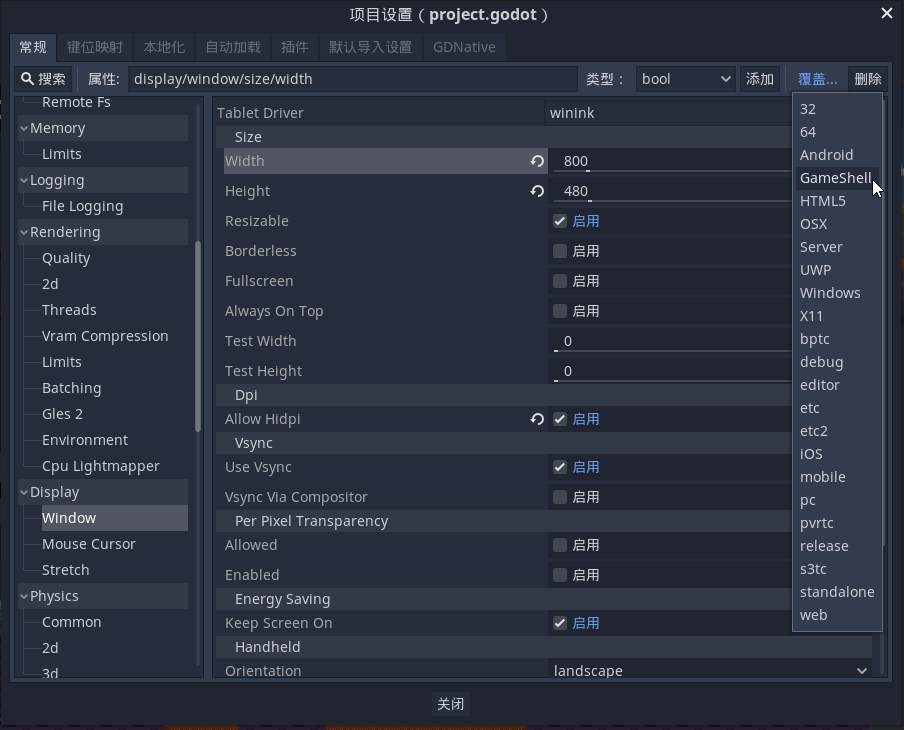
A new settings entry specifically for GameShell will then appear:
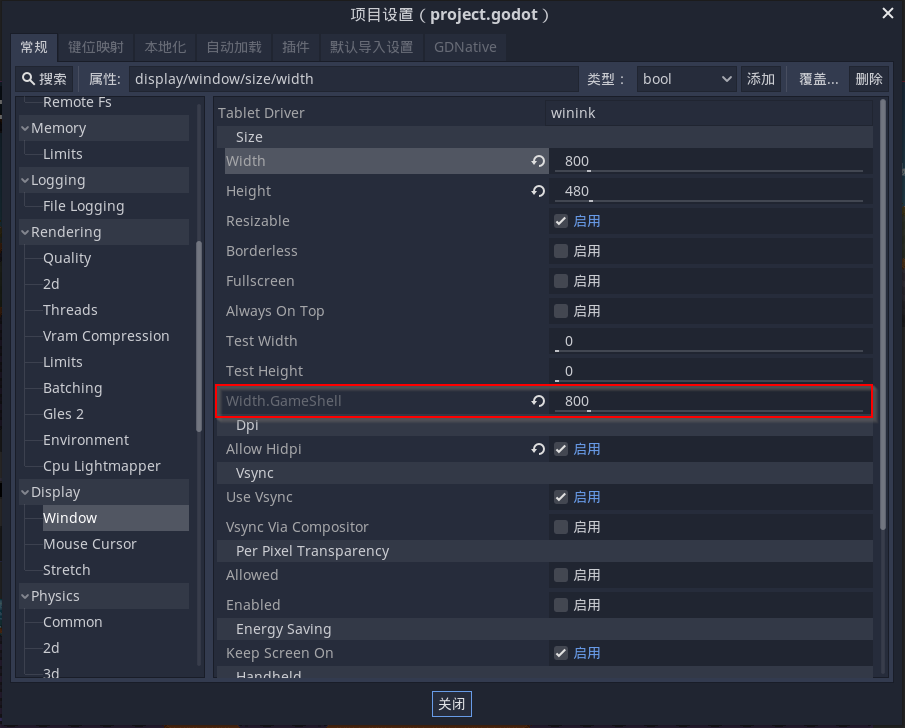
Change Width.GameShell from 800 to 320.
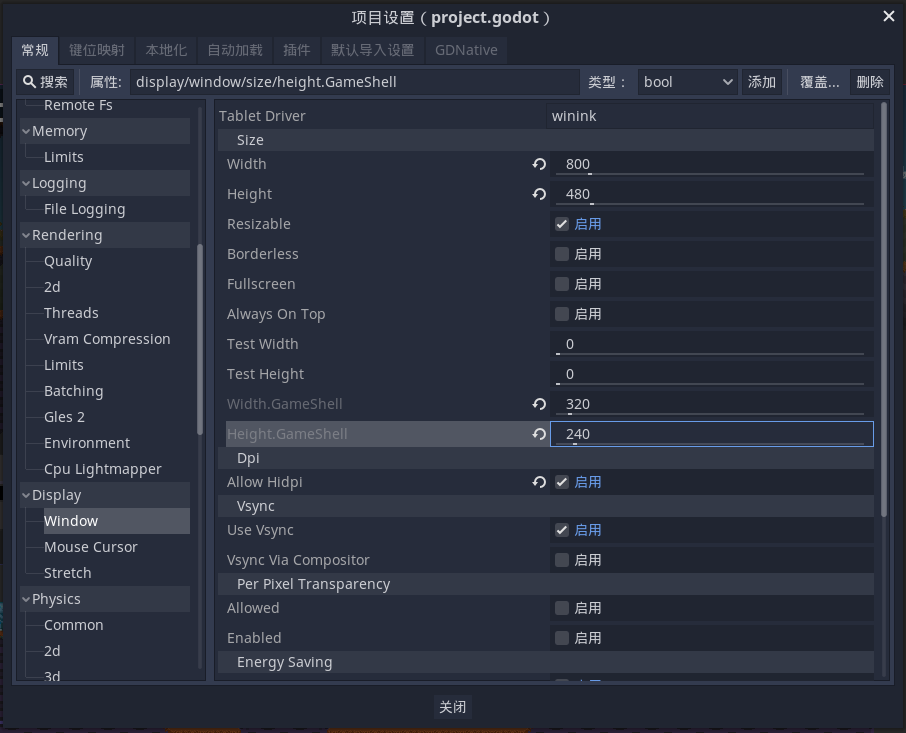
Do the same override for Height, changing it to 240.
After the changes it looks like this:
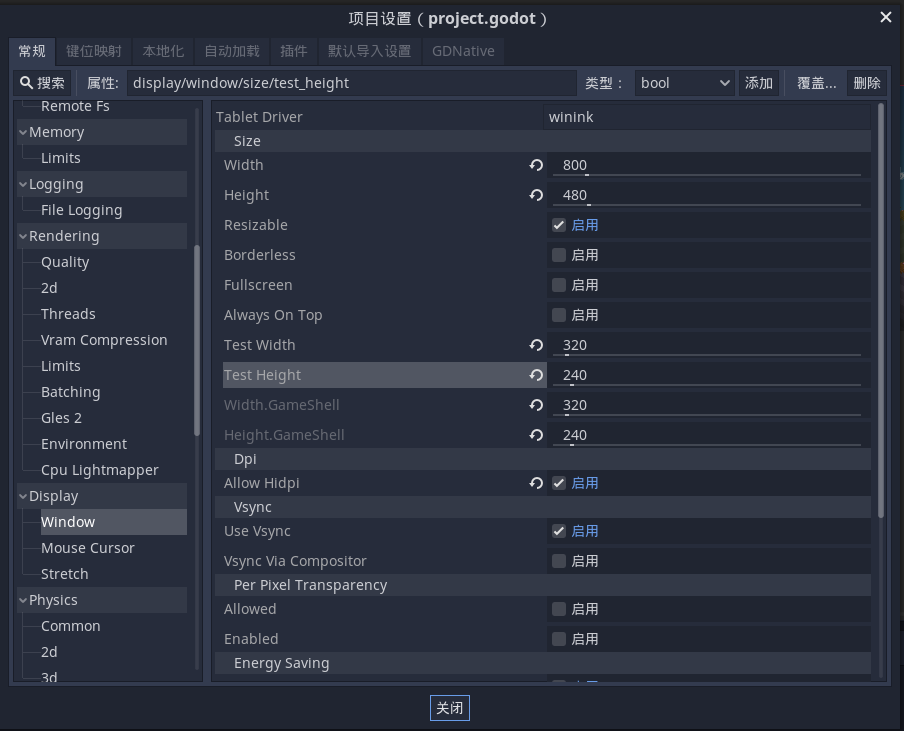
If you want to test inside the Godot editor, you also need to set Test Width and Test Height to 320 and 240 (set them directly, not as overrides):
If you click the play button now, you’ll notice the display looks a bit off, with black bars:
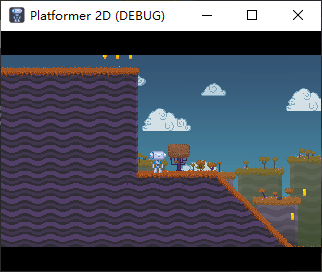
That’s because the default stretch aspect mode is keep_height:
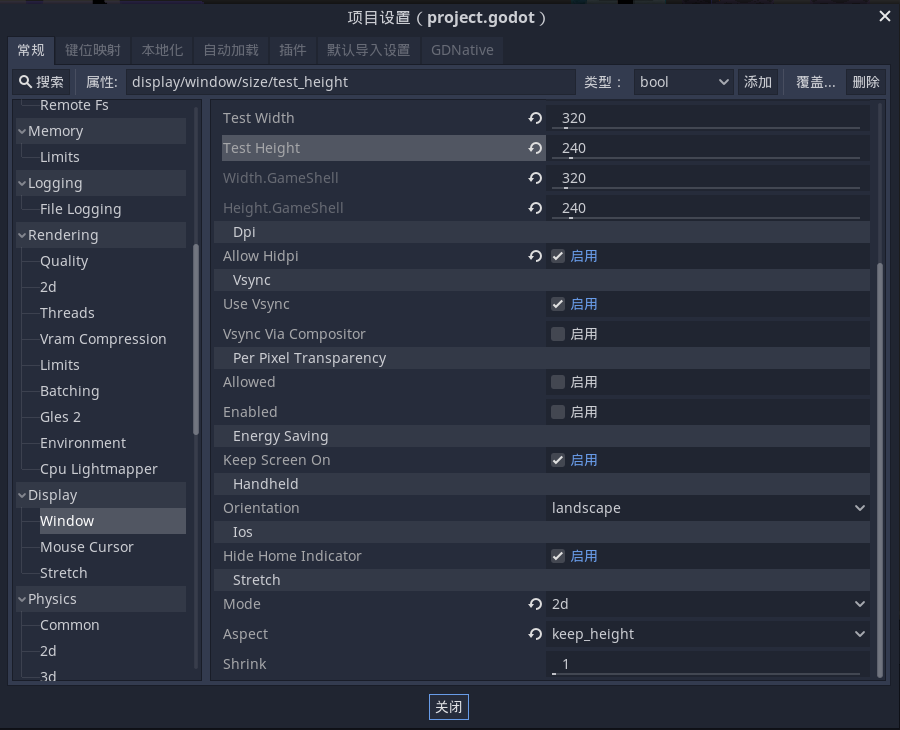
We need to override Aspect to keep_width for GameShell. Also, since the template that guy provides disables 3D, his template only supports 2D games, so we override Mode to 2d:
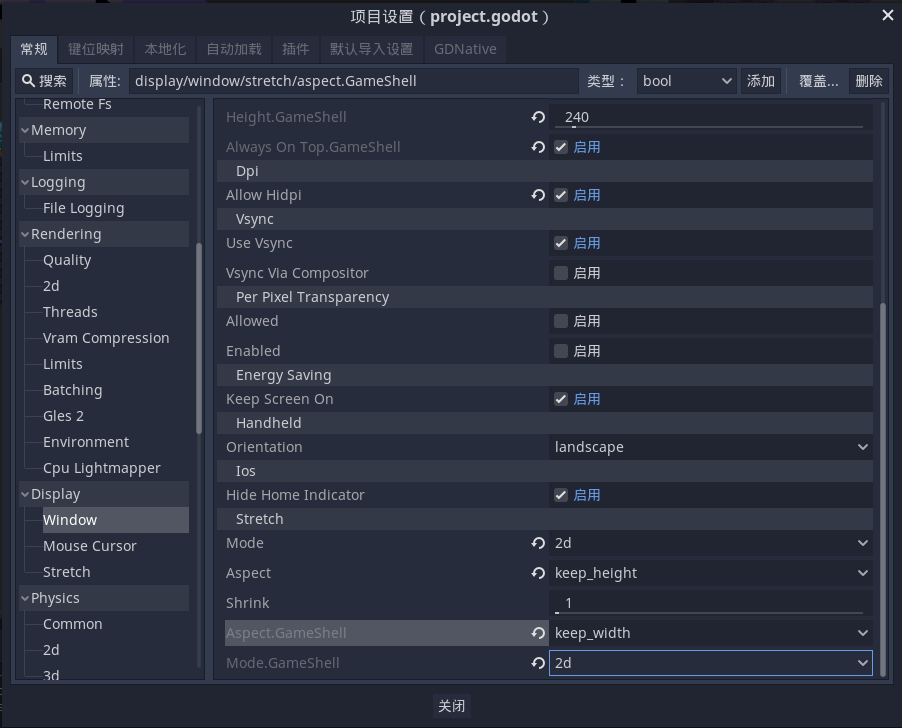
Running it:
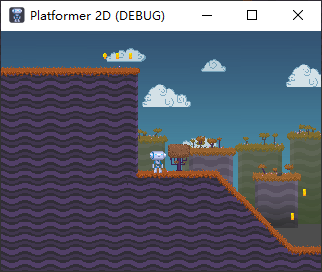
As you can see, it looks great!
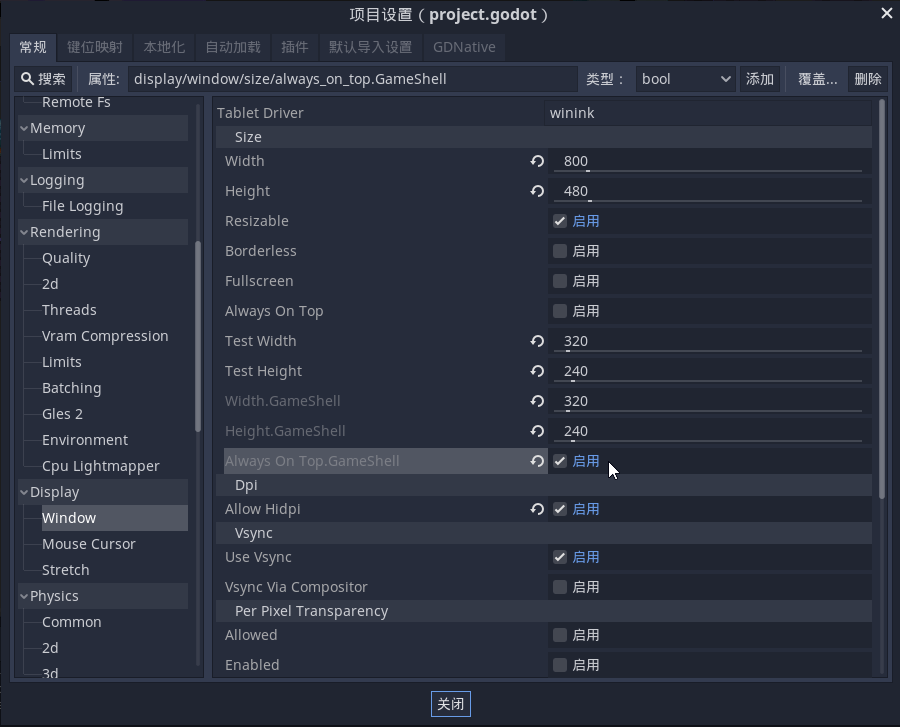
Finally, to keep the window always on top, override and tick the Always On Top option:
Rendering Settings#
GameShell only supports GLES2, so we need to change the game’s rendering settings.
Click Rendering->Quality and override the following:
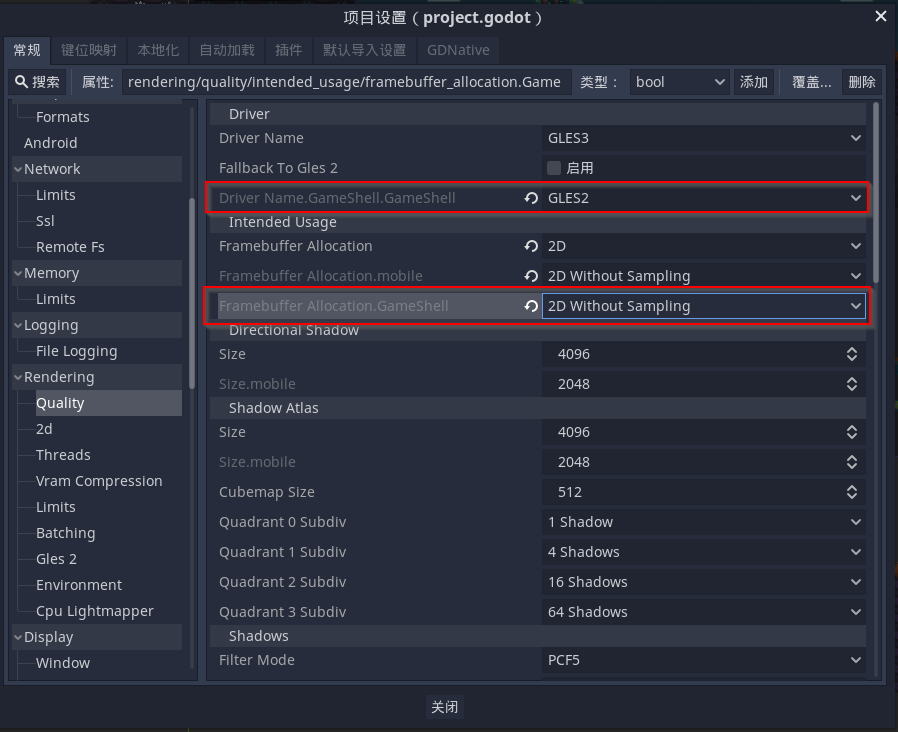
Generally you won’t need sampling, so override Framebuffer Allocation to 2D Without Sampling.
Setting Up the Controls#
Your game must have logic to quit via a button press. Otherwise the only way out is to SSH into the GameShell, run ps -ef | grep xxx, and kill the current game process, which is a huge pain.
GameShell’s quit button is the Menu key, which is mapped to Escape on a PC. When writing the game logic, make sure pressing ESC quits or goes back to the main menu, and that the UI supports the arrow keys and Enter to confirm.
I won’t go into the code here. Remember to use the GameShell feature from earlier to handle GameShell-specific logic.
The 2D Platformer Demo shows the main menu on ESC by default, and the main menu UI supports arrow-key navigation and Enter to confirm, so no extra quit logic is needed.
Export#
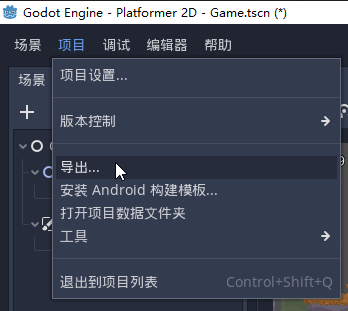
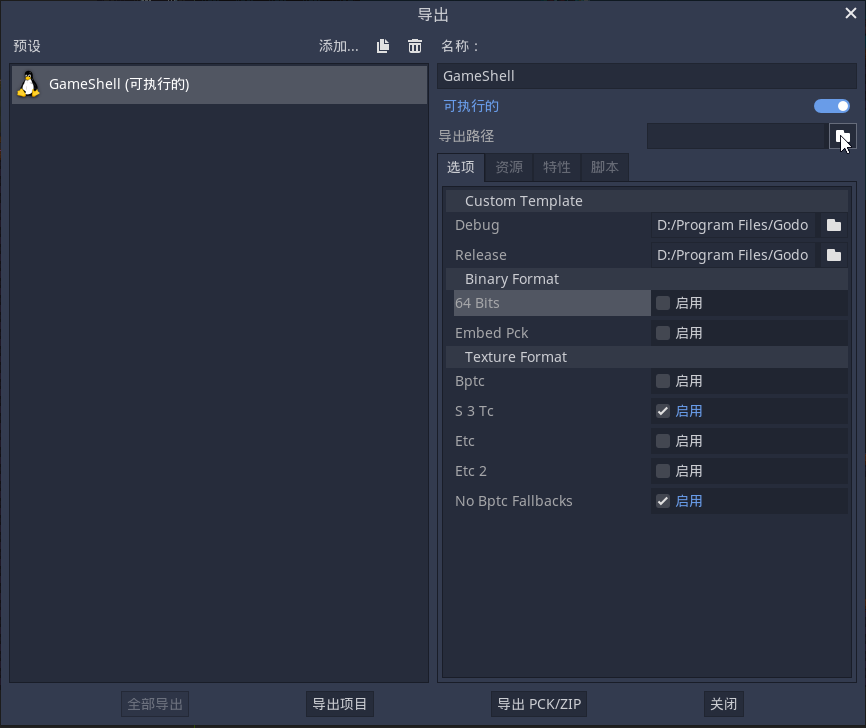
Click Project -> Export:
Choose the export path:
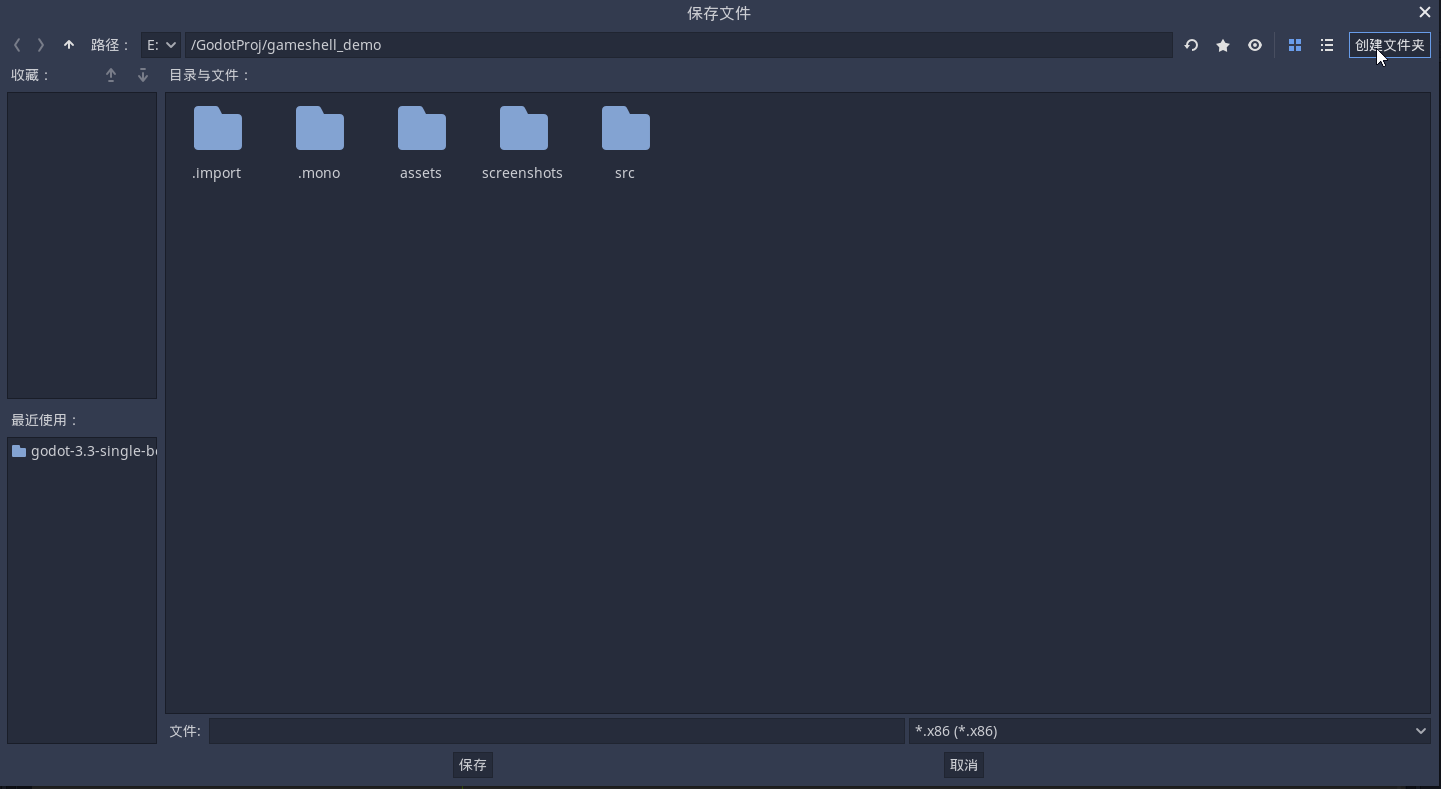
Create a folder called GameShellExport:
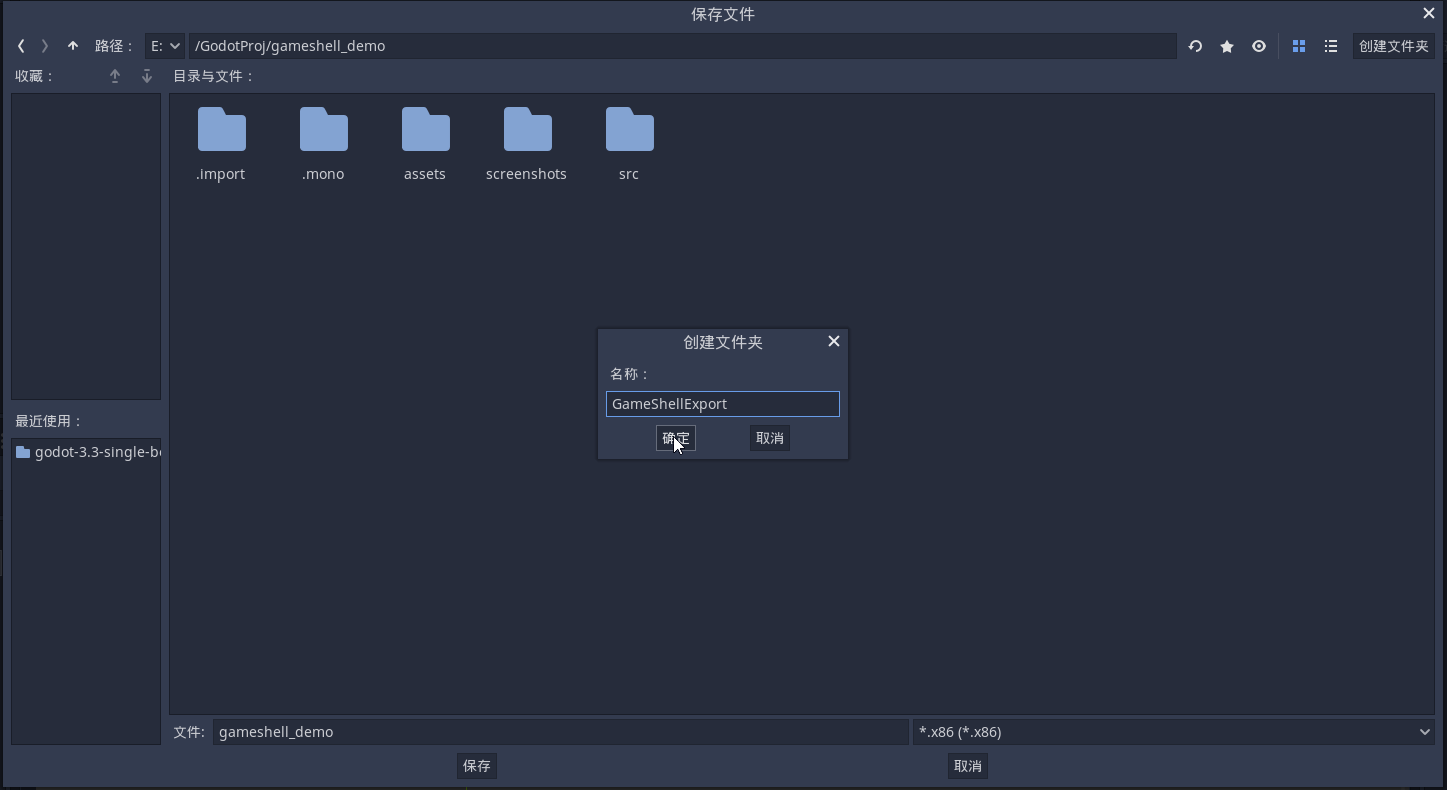
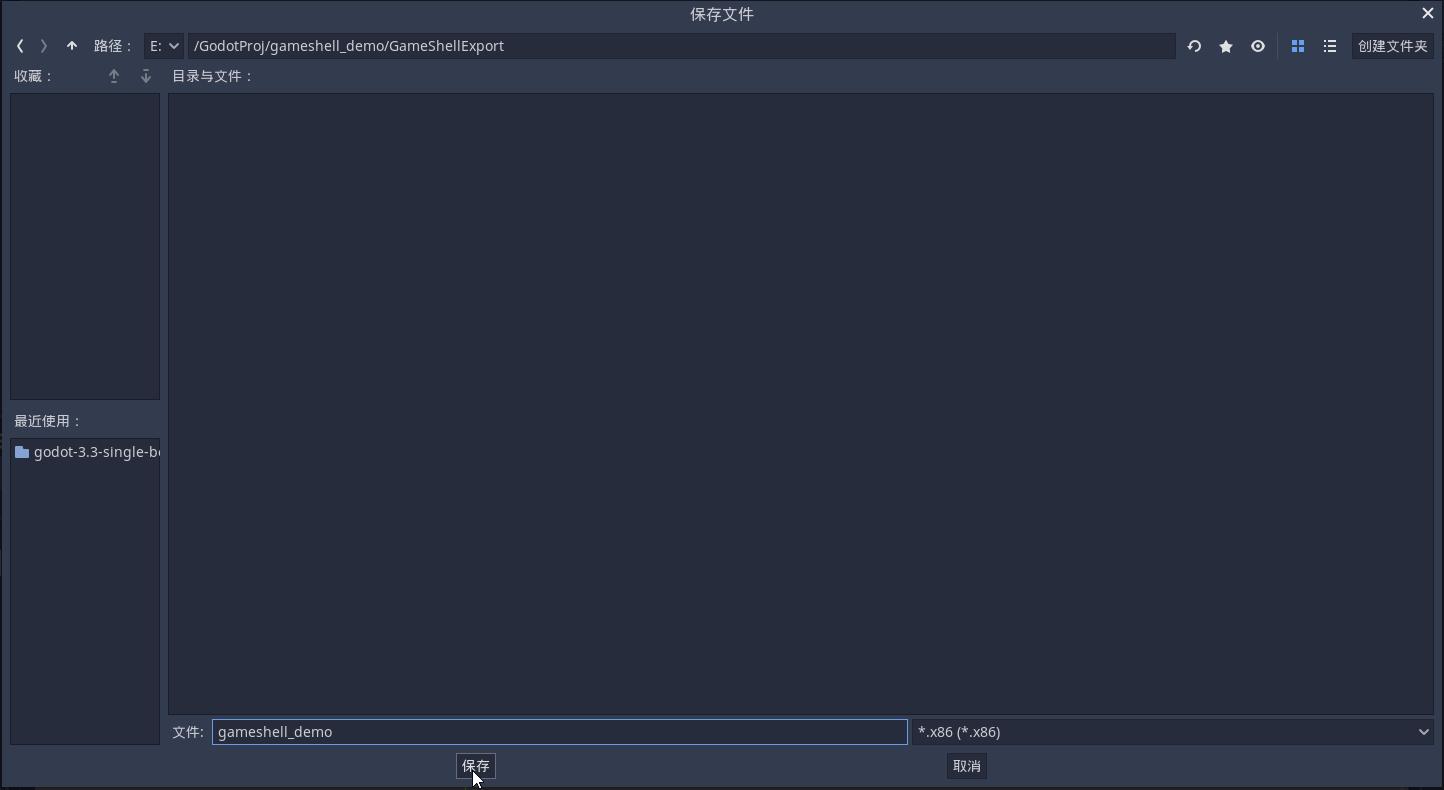
Then let’s name the file gameshell_demo and click Save:
Click Export All:
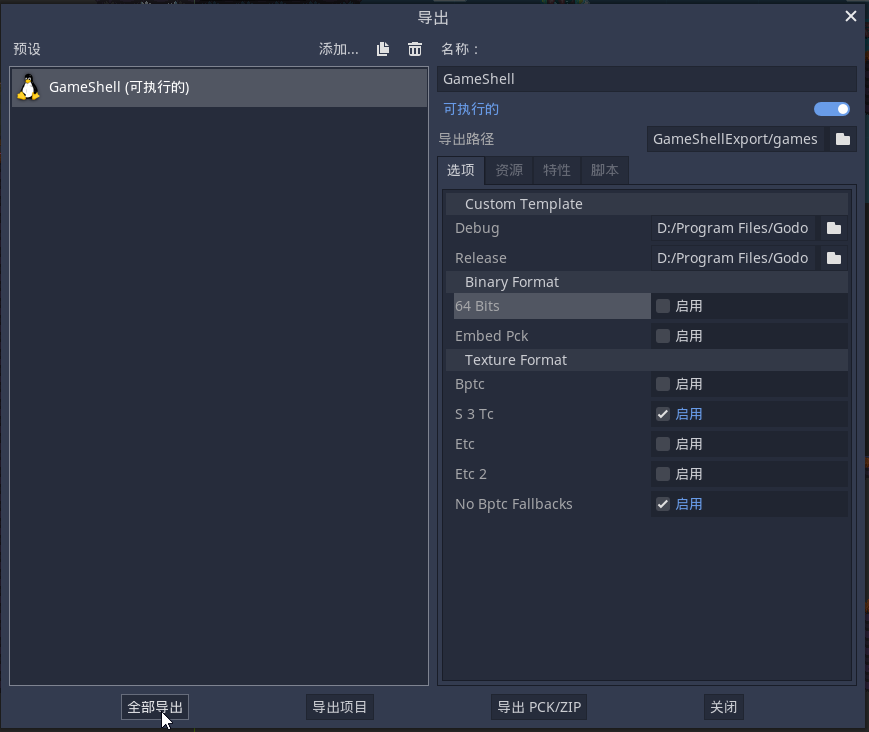
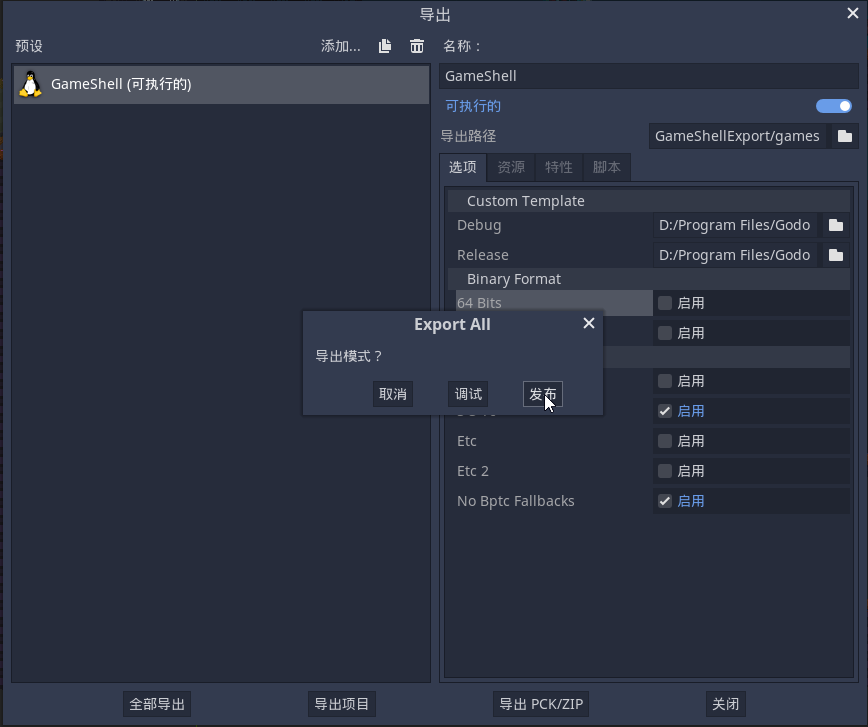
I recommend choosing Release, unless you need to debug, in which case choose Debug:
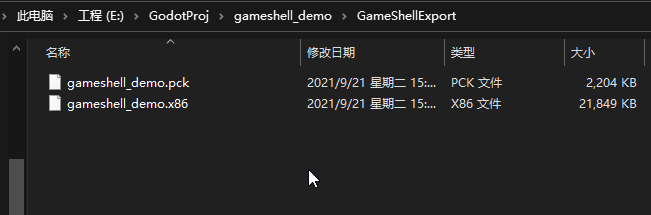
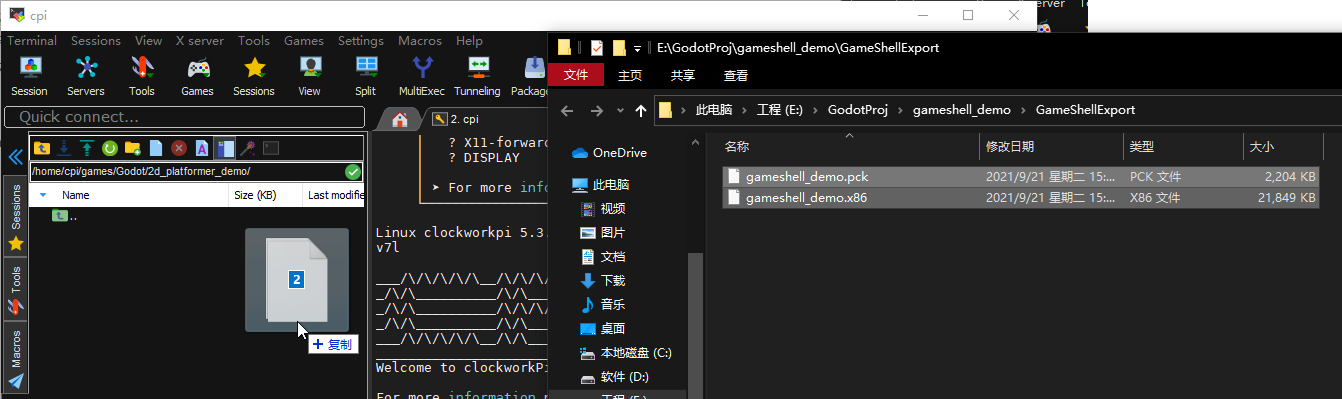
The exported files end up in the GameShellExport folder: one executable plus one PCK resource file:
Upload to GameShell#
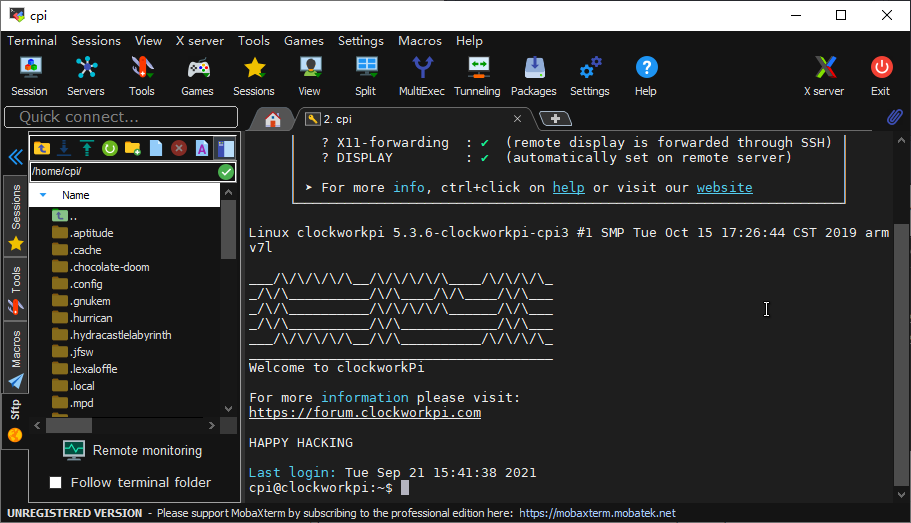
Here I use MobaXterm to set up SSH and SFTP connections. If you know how, you know; if not, look it up.
Connect#
First, set up the connection:
Create Folders#
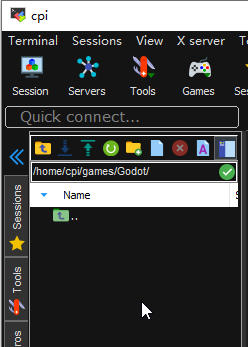
Then, in the file browser on the left, go into the games folder and create a new Godot folder:
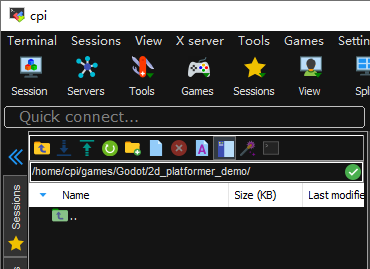
Inside the new Godot folder, create a 2d_platformer_demo folder and go into it:
Copy the Game Files and Make Them Executable#
Drag in the two files we exported:
In the shell on the right, cd into the folder and give both files execute permission:
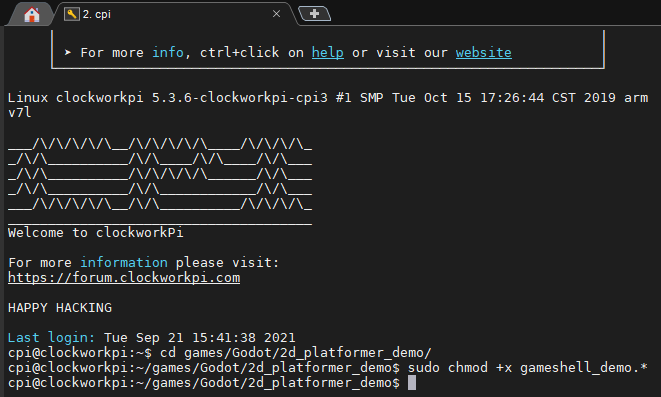
cd games/Godot/2d_platformer_demo/

sudo chmod +x gameshell_demo.*
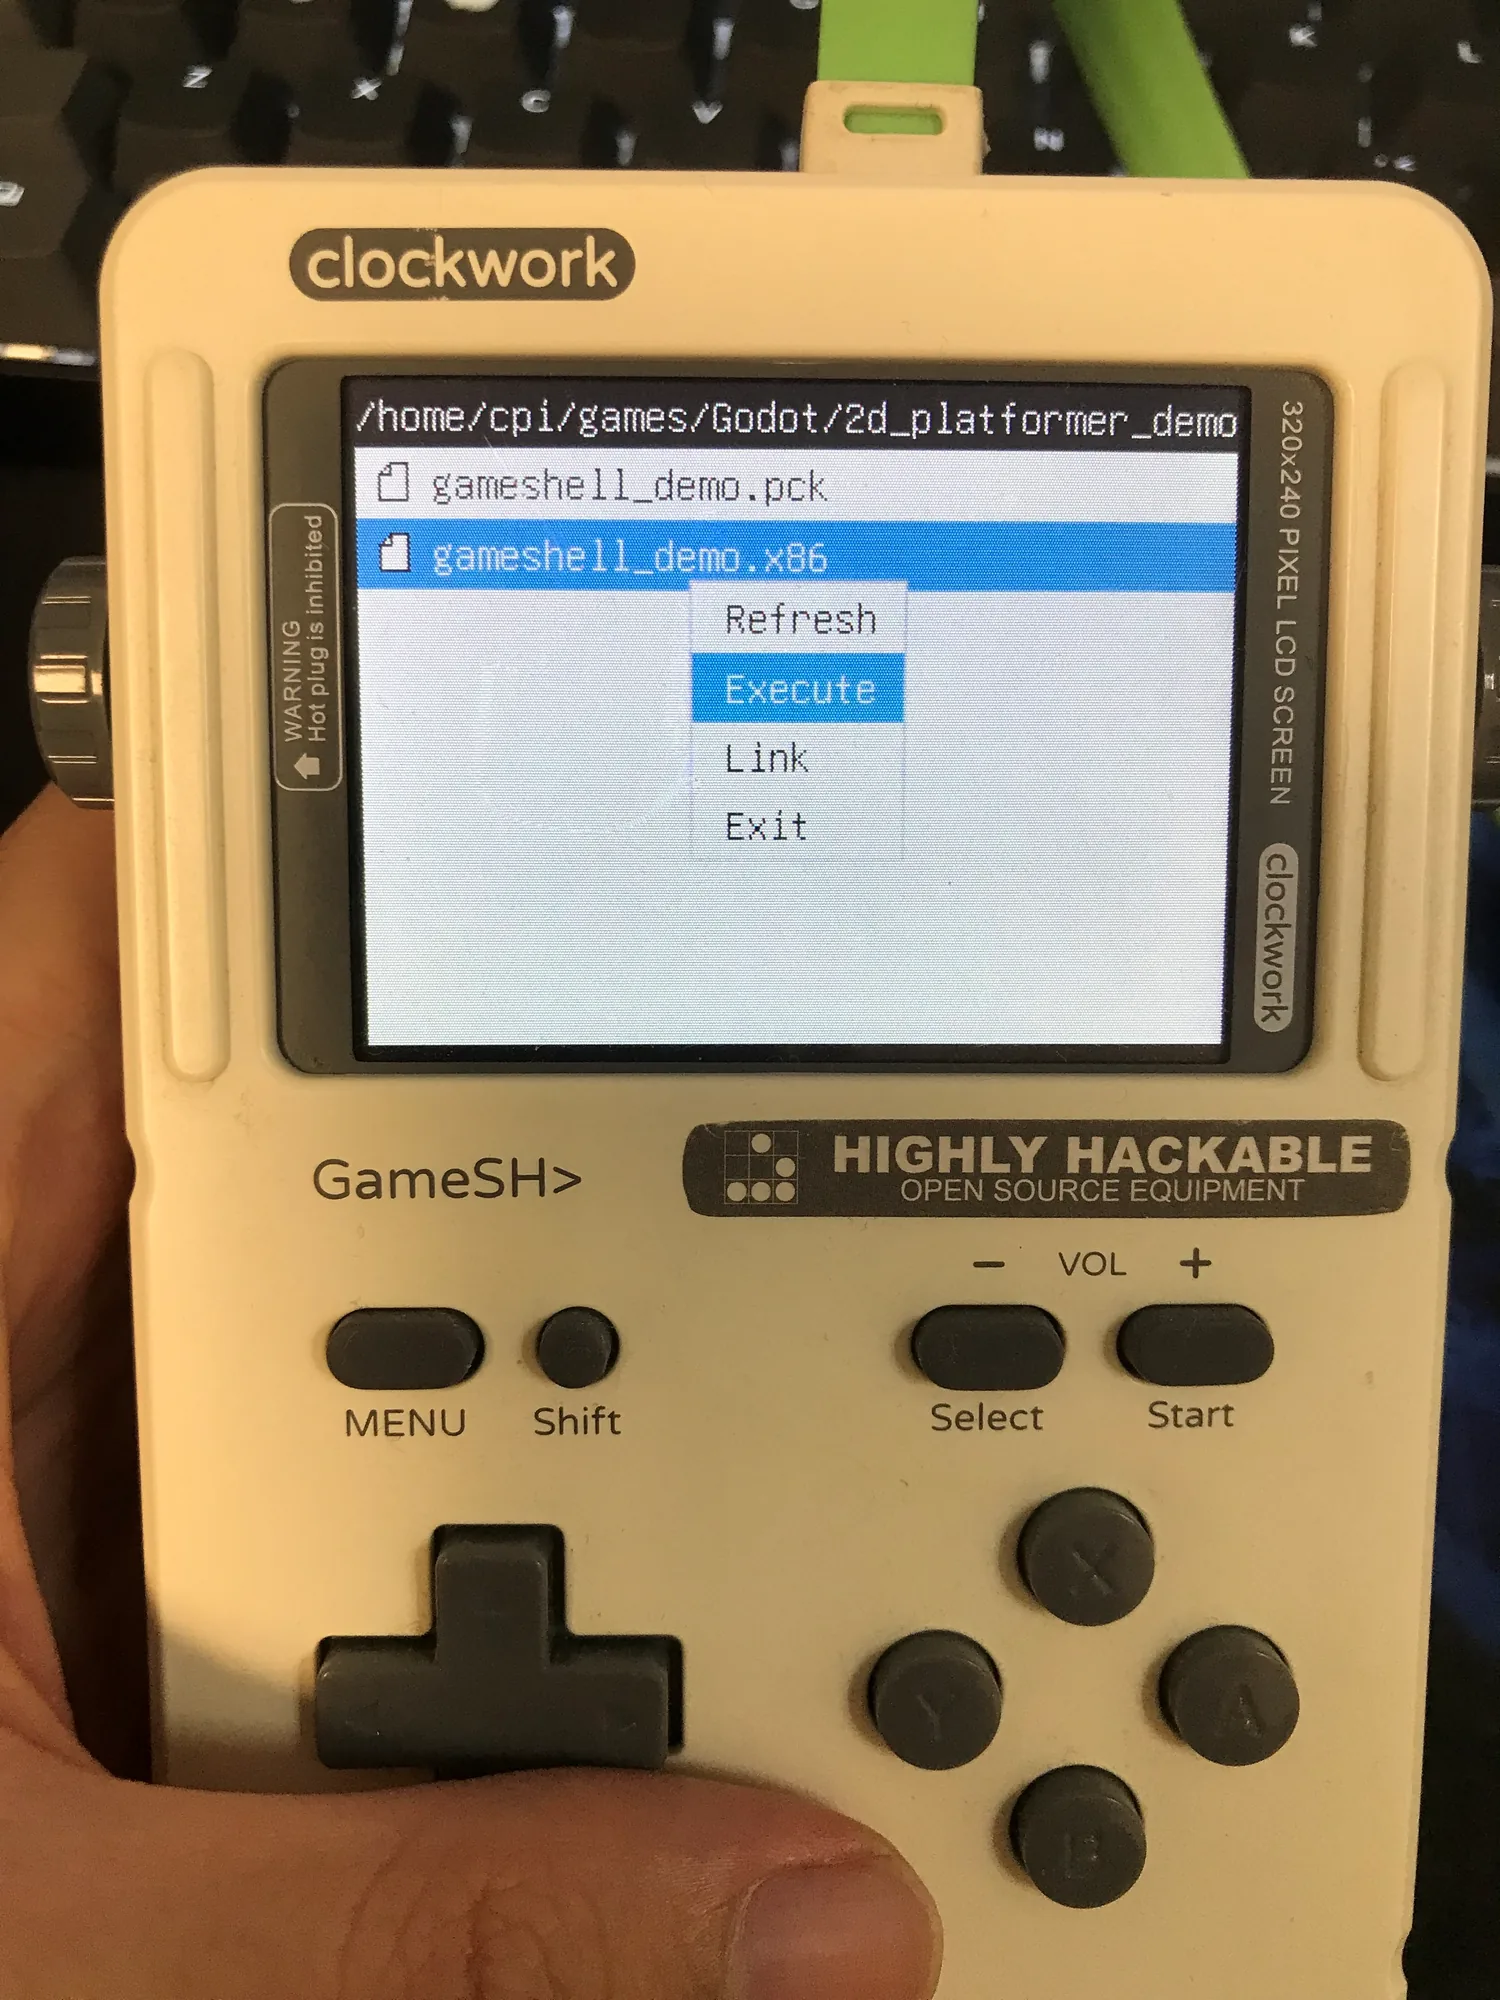
Test It with the Bean File Manager#
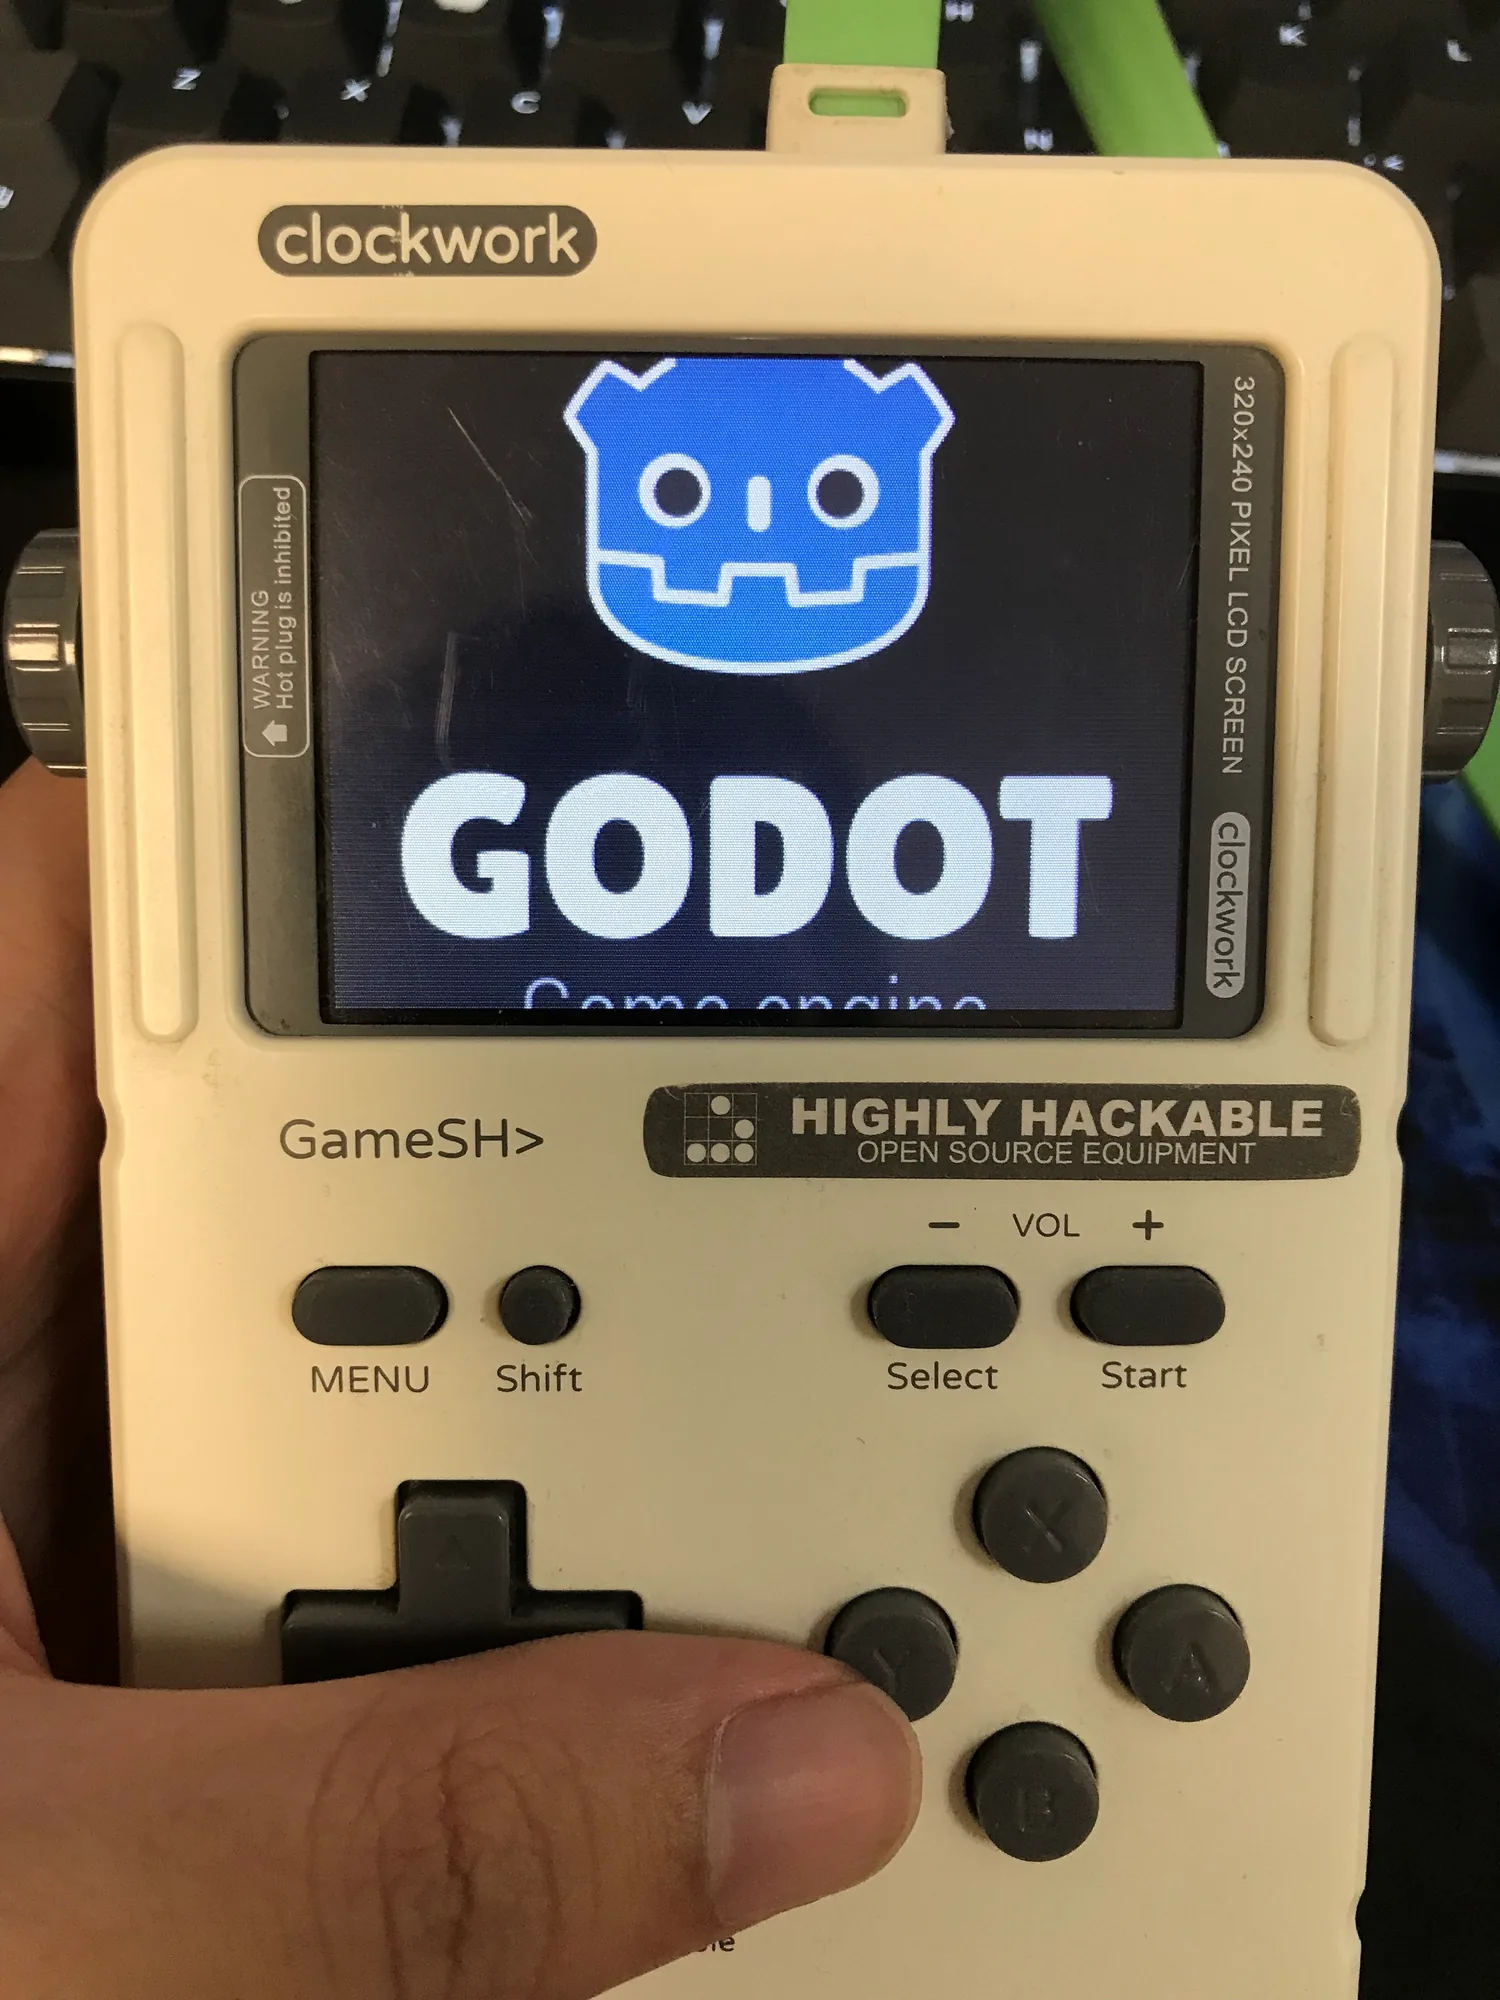
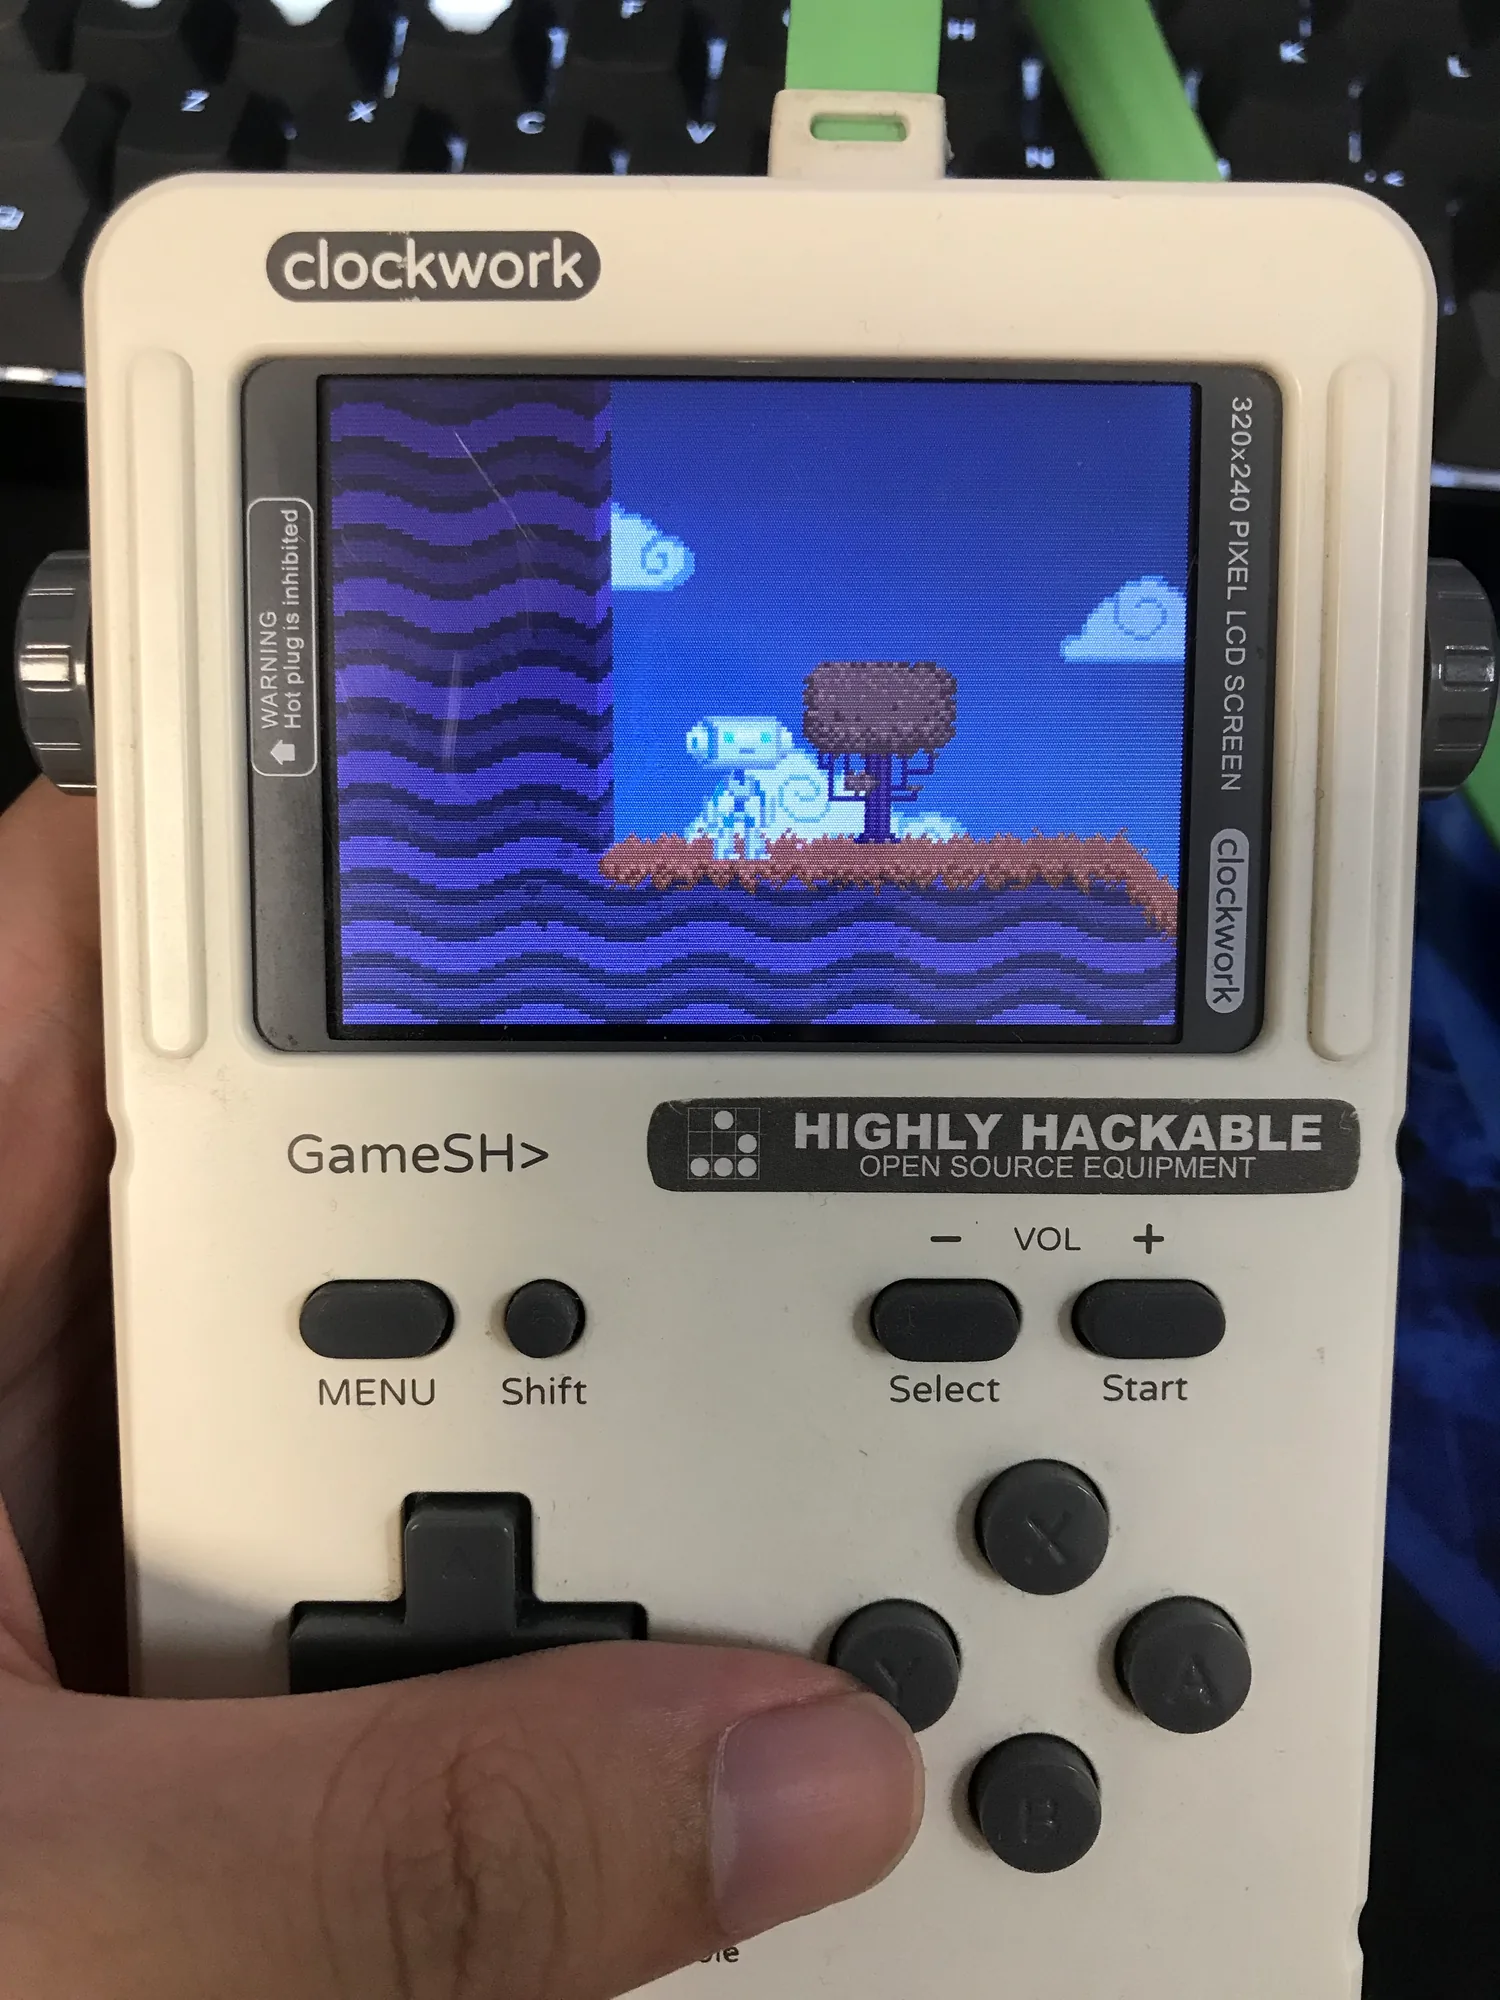
Dammit — right as I got to this point in the tutorial, I discovered my GameShell’s battery was dead: it won’t charge and won’t boot. I’ve ordered a new high-capacity battery on Taobao, so I’ll add the actual demo next time! It definitely works, though — otherwise why would I be writing this tutorial, right?
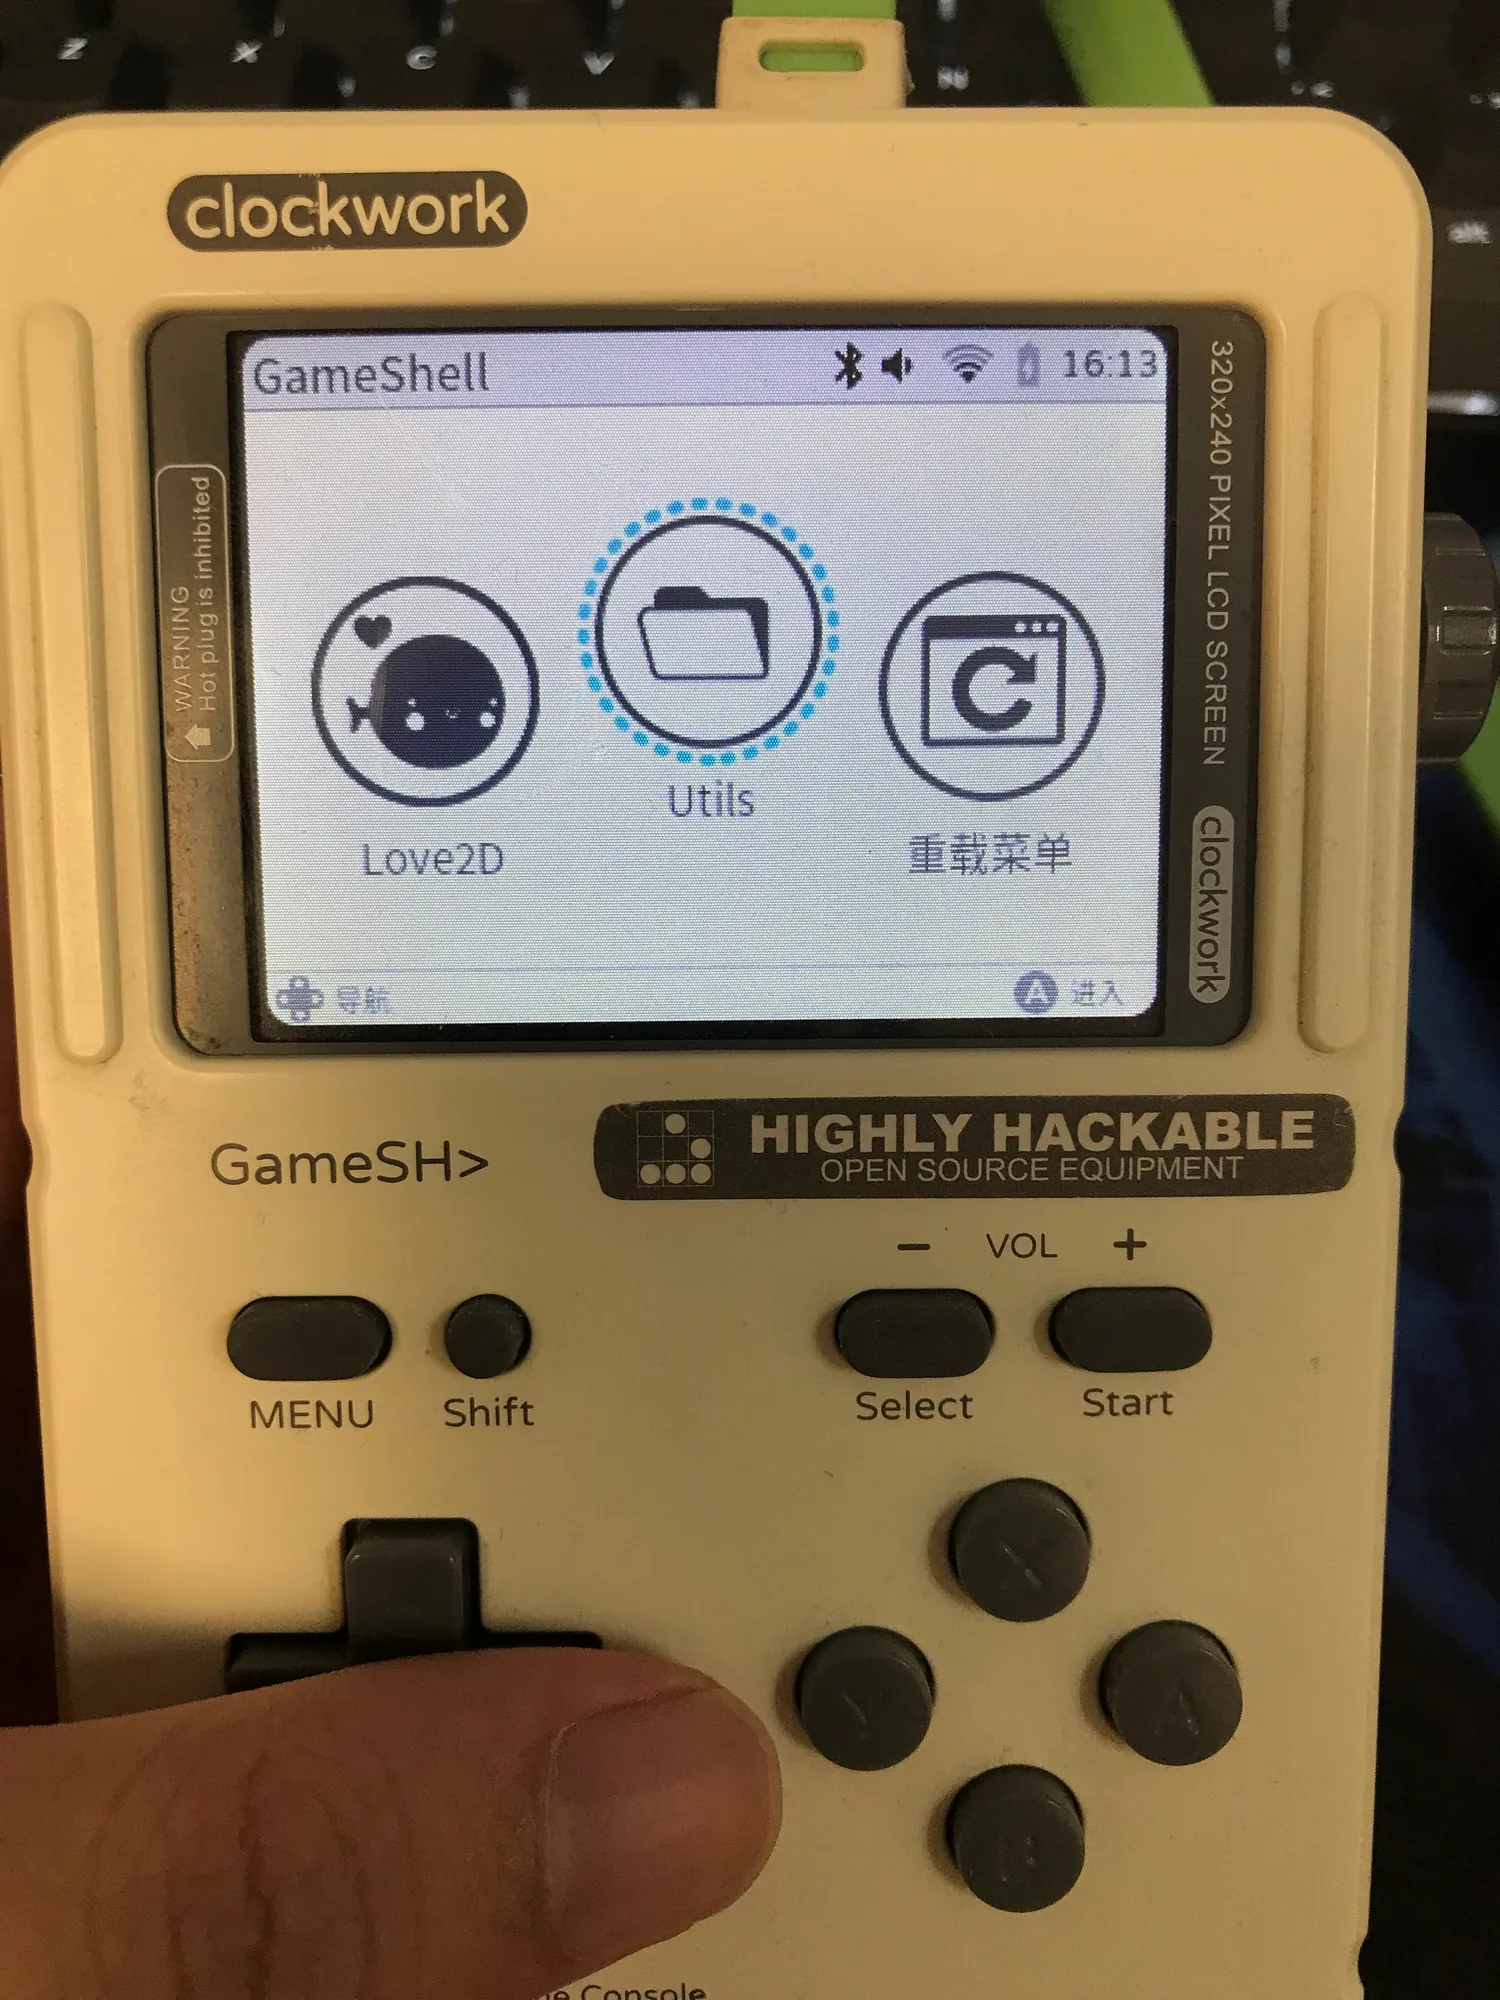
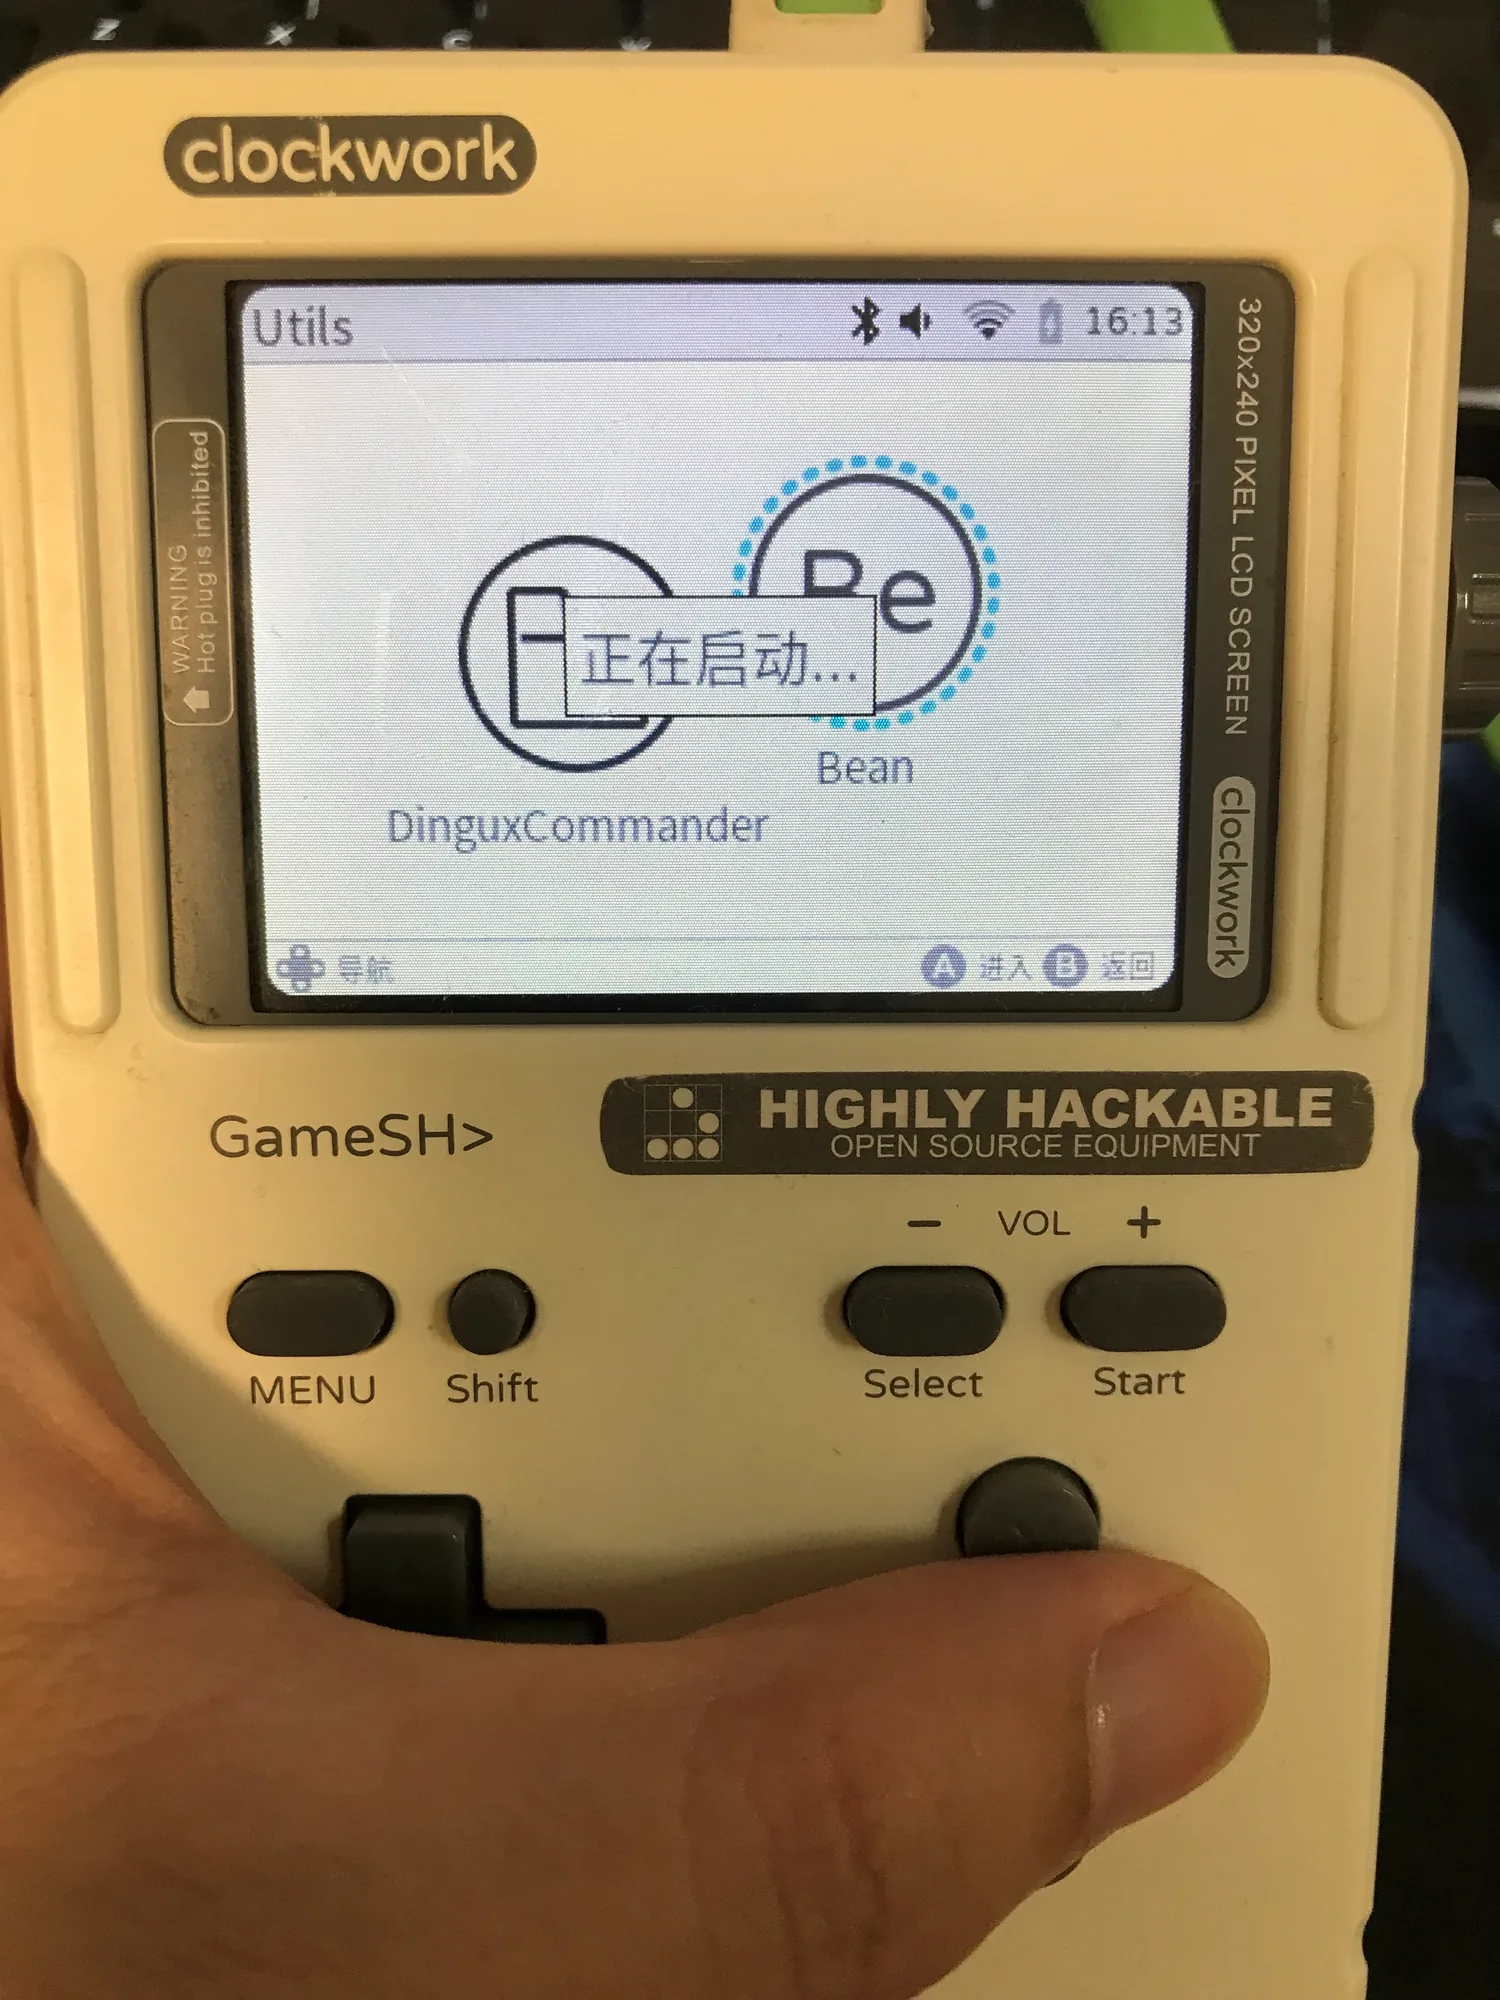
Here are some photos I took with the last bit of juice it had while booting, to prove it works:
Creating a Menu Launcher Entry#
To be added……………………………………………………………….
Something a Bit More Hardcore: Compiling the Export Templates#
If that guy can compile GameShell export templates himself, so can we — and not just for 2D, and not just for GameShell. Raspberry Pi, S905 boxes, Orange Pi, DevTerm, PocketC.H.I.P (in theory) — you should be able to compile export templates for all of them.
To be added……………………………………………………………….
Summary#
Godot isn’t as “heavy” as Unity and has excellent support for embedded devices. If you want to write games for ARM Linux devices like the Raspberry Pi, GameShell or DevTerm, Godot is a superb choice. It’s one of the few game engines with a graphical editor that’s also open source, cross-platform, feature-rich, has a great community, and supports ARM devices. Totally worth it!
If you’re not used to pure-code game programming (with things like SDL2, Love2D, Pygame, MonoGame, FNA, Raylib) and prefer a game engine with a graphical editor, but still want to develop games for embedded devices, then just go with Godot, no-brainer! You don’t even need to know how to code: you can use Godot’s VisualScript and build your game logic by editing nodes!
Comments